Last updated November 22, 2026
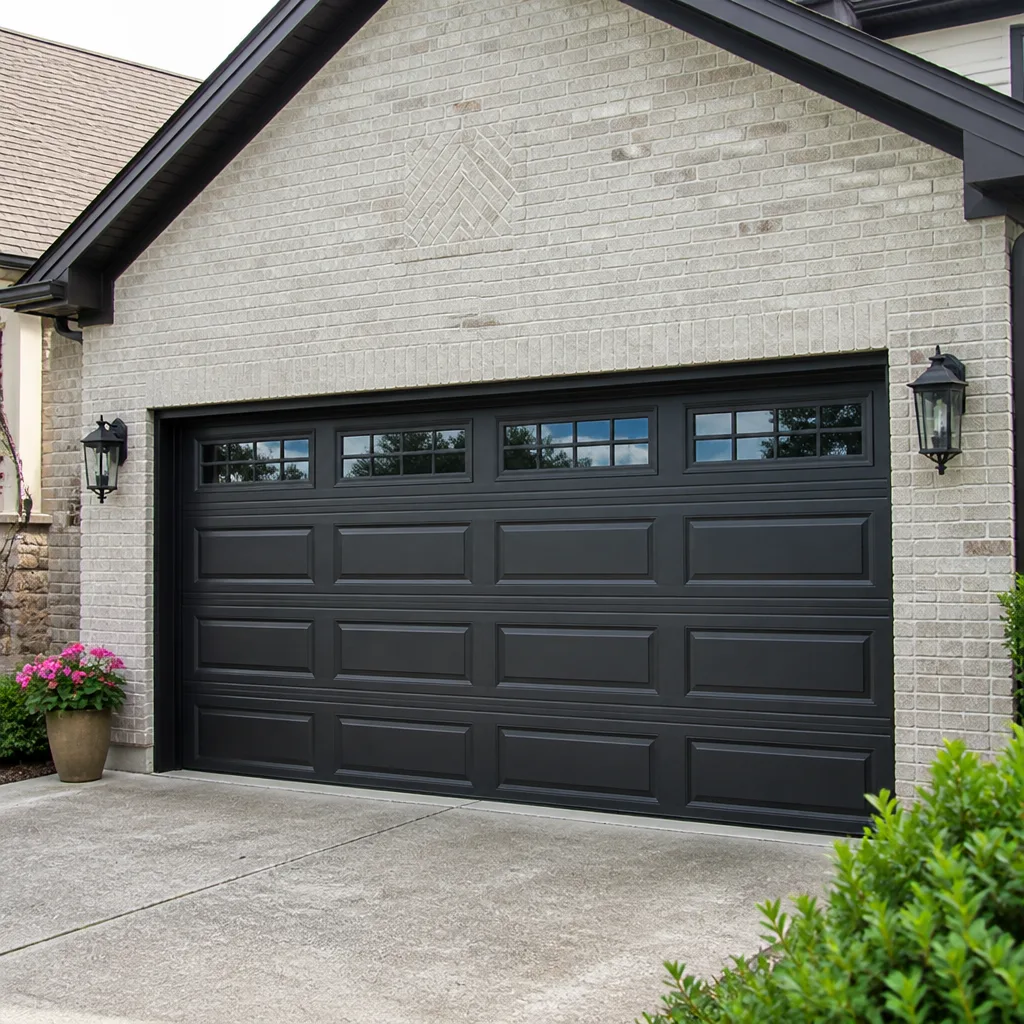 Raised-panel steel
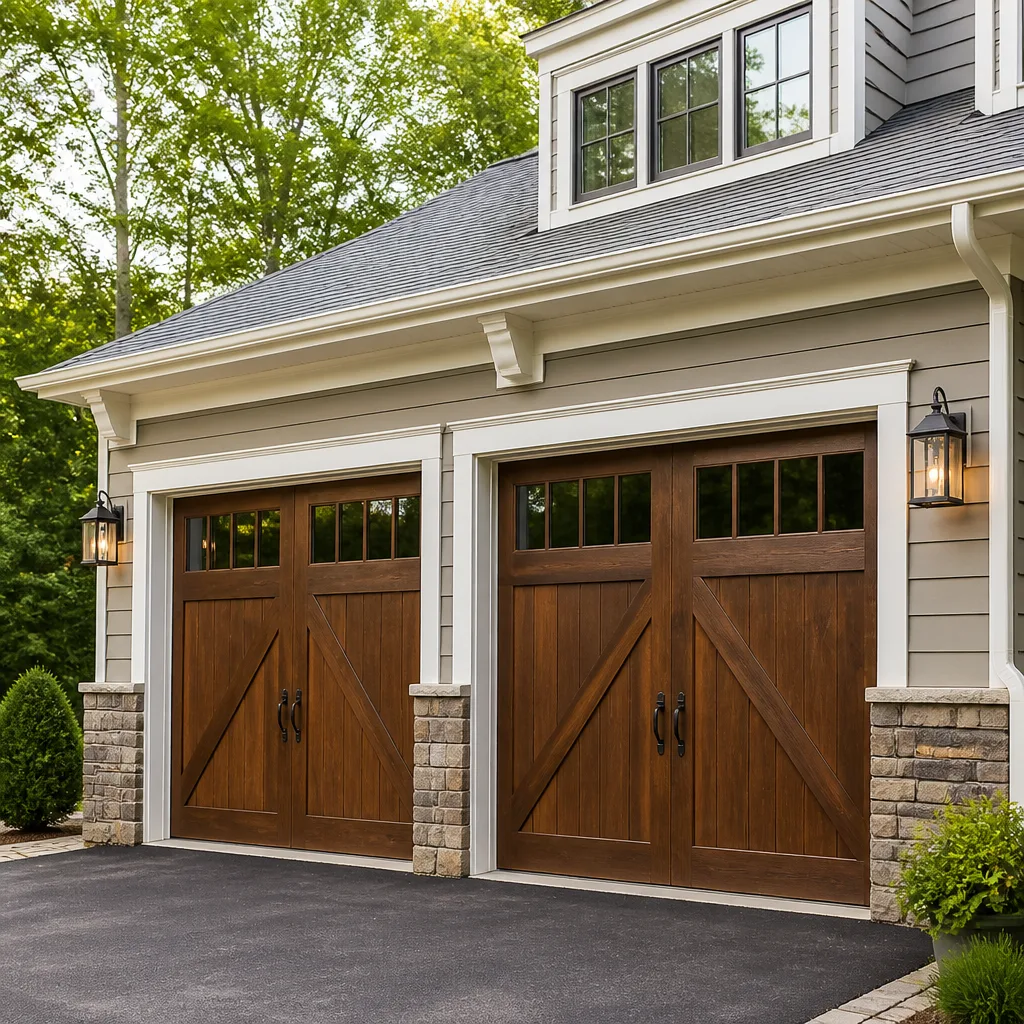 Carriage house
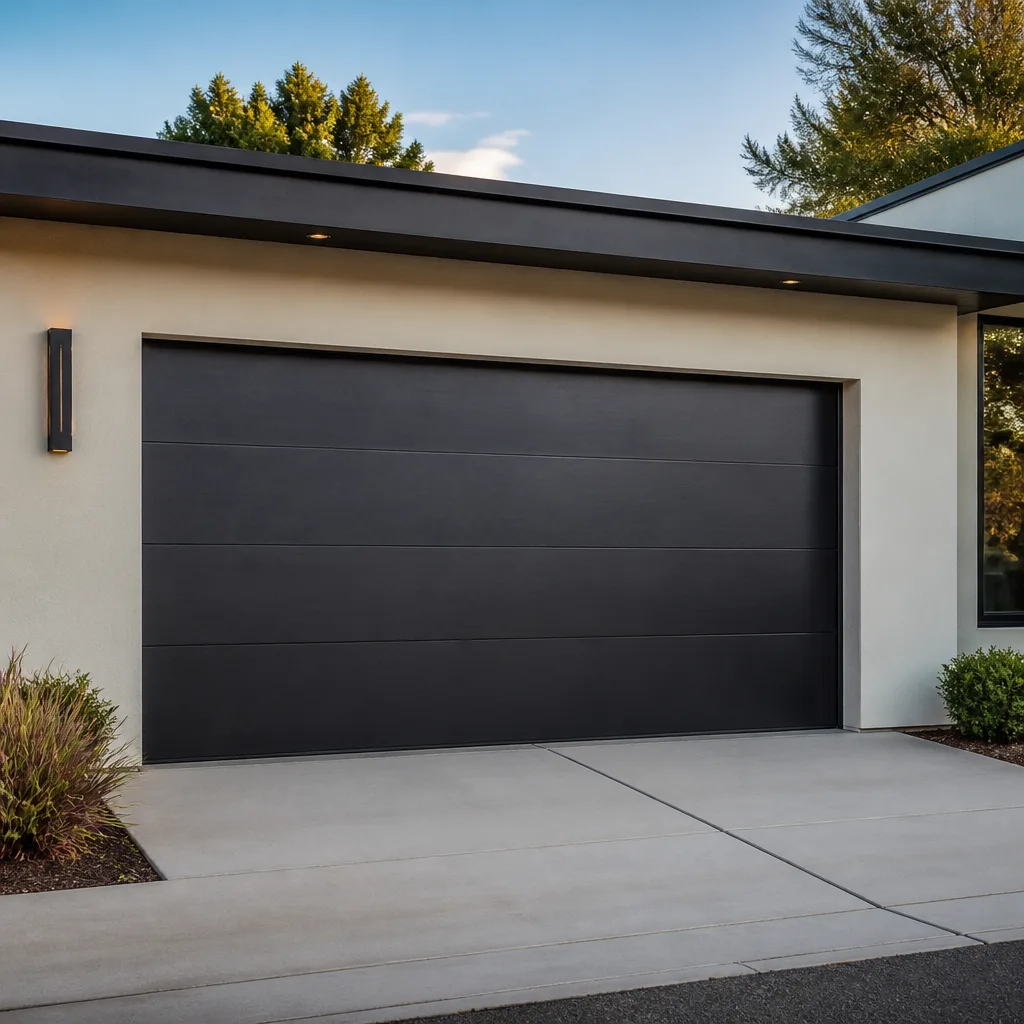 Modern flush
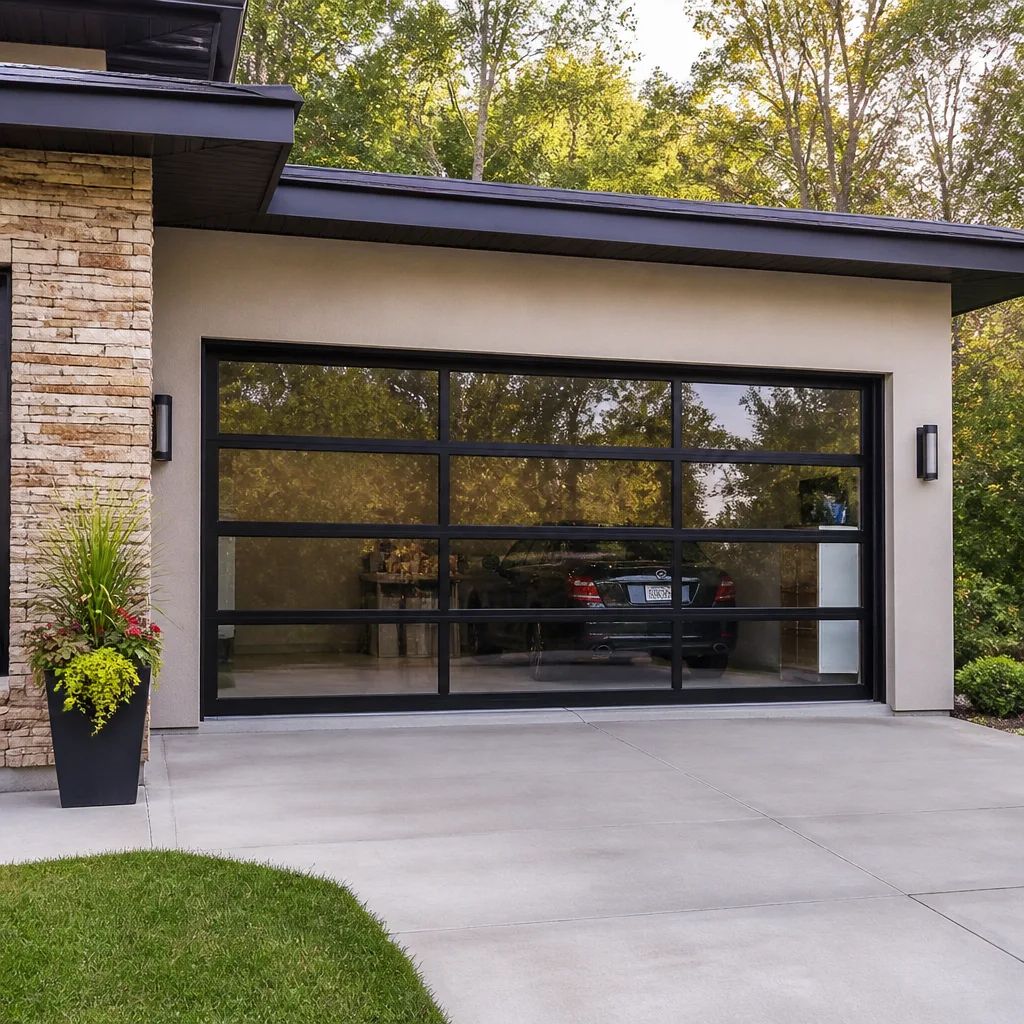 Full-view glass
 LiftMaster openers
 Chamberlain openers
Full 25-point door and opener safety check with every visit - springs, cables, rollers, tracks, and your LiftMaster or Chamberlain opener included
You get a price before we start. It does not change when the pro arrives.
Get your free estimateDIY vs Professional Garage Door: The University Park Homeowner’s Decision Guide
Torsion springs store enough energy to cause permanent injury in under a second. The video that makes the swap look manageable was filmed by someone who survived doing it wrong once. That’s the uncomfortable framing behind every DIY-versus-professional debate on garage doors: the question isn’t whether you’re handy, it’s whether the specific task in front of you carries a risk no tutorial can remove. Some garage door work genuinely belongs in your hands. Some of it doesn’t belong in anyone’s hands but a trained technician’s. This guide draws that line by component, not by confidence, so University Park homeowners can decide task by task what’s worth doing themselves and what isn’t.
Quick Answer
Most garage door DIY is safe and sensible: lubricating tracks and rollers, tightening exposed bolts, replacing a photo-eye bracket, adjusting travel limits on your opener, and cleaning the panels. A short list should never be DIY regardless of skill: torsion springs, extension springs, cables, bottom brackets, and anything involving the counterbalance system, because those parts hold stored energy that can injure or kill. In between sit jobs like roller replacement, weather seal swaps, and panel changes that are safe for a careful homeowner with the right tools and unsafe for someone improvising. In University Park, HOA covenants in some neighborhoods add a second layer, since exterior door changes may need approval before you touch anything.
Styles & brands we work with
- Raised-panel steel
- Carriage house
- Modern flush
- Full-view glass
- LiftMaster openers
- Chamberlain openers
Table of Contents
- Where the Real Line Sits: Risk by Component, Not Confidence
- Tasks That Are Genuinely Homeowner-Appropriate
- Tasks That Are Safe With Precautions (and When to Stop)
- Tasks That Should Never Be DIY, Regardless of Experience
- What DIY Mistakes Actually Cost to Undo
- Brands With Proprietary Components and Warranty Clauses
- The Tools You’d Need (and Whether They Change the Math)
- University Park HOA Covenants and What You Can Legally Self-Perform
Where the Real Line Sits: Risk by Component, Not Confidence
The garage door is the largest moving object in most homes, and it’s held in balance by a counterbalance system that most homeowners never think about until something snaps. A torsion spring on a standard double door can be under hundreds of pounds of torque at rest. Extension springs store similar energy along the horizontal tracks. Cables keep the whole assembly aligned and tensioned. These parts don’t care how careful you are or how many videos you watched. They release energy on their own schedule if the tension is wrong.
That’s why the DIY-versus-professional question is a component question. On one side are parts with no stored energy: hinges, rollers, bearings, seals, brackets that aren’t under load, opener settings, and the door panels themselves. On the other side are parts that hold or release energy: springs, cables, drums, and the bottom brackets that anchor the cable to the door. The task you’re considering either touches that second group or it doesn’t.
In our experience across University Park, the failures we see from homeowner attempts cluster tightly around that second group. Someone replaces a roller and cross-threads a hinge. Someone tries to adjust a torsion spring with a pair of vise grips and bends the winding cone. Someone untensions a cable without a proper winding bar and the cable releases and slices a hand. The pattern isn’t about skill. It’s about which side of the line the task sits on.
Once you know which side of the line your task is on, everything else follows: whether you need a technician, whether you need a permit or HOA approval, and whether the tool investment is worth it. If you’re already past that line and hearing a snap or a bang from the door, don’t touch anything else. Call (844) 524-3396 for garage door repair and let a technician assess the counterbalance system before you go near it.
Tasks That Are Genuinely Homeowner-Appropriate
This list is short, and it’s short on purpose. It’s also where the money savings are real, because a technician visit for any of these tasks would be a service call for work you can do in an afternoon with tools you probably already own.
- Lubricating tracks, rollers, hinges, and springs with a proper garage door lubricant. Wipe down the tracks with a rag, then apply a silicone-based or lithium-based lubricant to the rollers, hinge pivots, and bearing plates. Don’t use WD-40 as a lubricant (it’s a solvent), and don’t grease the tracks themselves, which attracts dirt.
- Tightening exposed bolts on the hinge plates and track brackets. A socket set and a few minutes will quiet most rattles. Leave the bolts on the bottom brackets and spring anchor plate alone; those are load-bearing.
- Cleaning the photo-eye lens and checking alignment. Grab a soft cloth, wipe each lens, and check that the small LED on each eye is lit and steady. If one is flickering, a small positional adjustment usually fixes it.
- Replacing a photo-eye bracket or sensor unit when the old one is truly dead, as long as the wiring is low-voltage and matches the opener’s terminals. Match the terminal colors and the opener brand, since Chamberlain, Genie, and LiftMaster wiring layouts differ.
- Adjusting travel limits and force settings on the opener. The opener manual walks you through it, and it’s a genuinely safe adjustment that often solves a door that reverses on its own or stops short of the ground.
- Swapping weather seal and bottom rubber. The bottom seal on most doors slides into a channel and pulls out with a little effort. New seal goes in the same channel. No tension involved.
- Washing and touching up the door surface. Cosmetics are not going to hurt anyone, and most door manufacturers list the correct touch-up procedure for their finish.
If any of those tasks escalate into something that looks like it might involve a spring or a cable, stop. The line has been crossed, and a task that started as a cleanup is now a different job.
Tasks That Are Safe With Precautions (and When to Stop)
This is the middle tier, and it’s where most homeowner injuries happen. Not because the task is inherently dangerous, but because the task lives next to the counterbalance system, and one wrong move crosses the line.
Replacing rollers is a good example. Standard nylon rollers are held in with a hinge pin that you slide out once the door is fully raised. The precautions: raise the door fully so the spring tension is minimal, use a proper winding bar or locking pliers on the door to hold it, and never reach around the hinge while the door is moving. Replace rollers in pairs, not singles, since uneven wear is what caused the noise in the first place. Stop if the door won’t stay up on its own or the roller sits inside a hinge attached to the bottom bracket; that bottom hinge is load-bearing and you’ve crossed the line.
Replacing a single panel is the other common one. Safe in principle: remove the hinges and brackets that hold the panel, slide it out sideways, slide the new one in. The precautions: the door has to be fully open, the other panels have to be supported, and the panel has to match by brand and model or the hinge holes won’t line up. Clopay and Amarr panels, in particular, are not cross-compatible. The panel you order has to match the model stamped on the door’s inside edge.
Sanding and painting the door falls in this tier too. Safe work, but prep matters: pressure-wash and degloss before any finish, and use the coating the manufacturer specifies. On steel doors a moisture-cured polyurethane holds up far better than a latex exterior paint.
In University Park, the altitude and dry climate affect this tier more than you’d think. Steel doors on the west- or south-facing side of a home take a beating from the Front Range sun, and finish failures show up as chalking and fading faster than the paint can’s warranty suggests. That’s a reason to keep up with the cosmetic work, not a reason to skip it.
The basic rule: if the task requires the door to stay up with pressure on it, or if the task puts your hands anywhere near the spring bar, the cable, or the bottom bracket, stop. That’s when you call for garage door repair rather than keep going.
Tasks That Should Never Be DIY, Regardless of Experience
No amount of experience closes the gap on these. The parts are held under enough tension that a single slip – a bar that rolls off the winding cone, a cable that releases from the drum – can cause permanent injury in less time than a reflex. That’s why the line here is not “difficult, so call a pro.” It’s “no tutorial can mitigate this.”
We’ve seen YouTube make every one of these look manageable. The videos are edited down to the thirty seconds that worked. They don’t show the winding cone slipping, or the homeowner’s grip failing, or the sound a torsion spring makes when it releases.
The off-limits list, in order of how often homeowners try it anyway:
- Torsion springs. Held by a winding cone on a torsion bar. Replacing one requires two proper winding bars, a firm grip, and a knowledge of how many turns are on the new spring for your specific door weight. If the bar slips, the cone spins and anyone in the path gets hit by the bar or the spring.
- Extension springs. Stretch along the horizontal tracks above the door. They have less stored energy than torsion springs, but they still snap with enough force to break bones, and they absolutely require safety cables running through the center if they don’t have them already.
- Cables, drums, and bottom brackets. The cables are what keep the door square. A cable under tension can cut through a hand, arm, or leg in a way that’s hard to imagine until you’ve seen it. Never loosen a bottom bracket or a cable drum.
- Center bearing plates and spring anchor plates. Both are under load. Both look like ordinary brackets. Both stay locked to the frame until a technician removes the tension.
- Anything on the opener’s high-voltage side. Wiring the opener into a new circuit or moving the outlet. Low-voltage opener wiring you can match, high-voltage wiring you can’t touch.
Spring repair is a safety job, not a service task. Our technicians have up to 11 years of experience and perform garage door repair on the counterbalance system as a specialized service, not a reluctant add-on. If you hear a snap, see a gap in a spring, or notice a cable hanging loose, don’t operate the door. Call (844) 524-3396 and let someone with the right tools take it from there.
What DIY Mistakes Actually Cost to Undo
The honest answer is that some DIY mistakes cost nothing to undo and some cost more than the professional repair would have. Not because you’re being punished, but because a failed homeowner repair often damages the part you were trying to fix, and now the technician has to undo *and* redo, rather than just fix.
Here’s the pattern we see. A homeowner tries a torsion spring swap, the winding cone bends, and now the technician replaces not just the spring but the cone. A homeowner replaces a roller, cross-threads a hinge leaf, and now the technician replaces two hinges and the roller. A homeowner pries a panel and warps the track, and now the track gets straightened and the door gets re-hung. The bill isn’t double. It’s the original job plus a modest re-work charge, and the re-work is what the homeowner didn’t plan for.
The real cost isn’t in the dollar figure. It’s in the time. A failed attempt turns a same-day repair into a multi-visit job: one visit to diagnose and undo, another once parts are in. That’s the piece homeowners don’t factor in when they start. If you’re already mid-attempt and unsure, stop and call (844) 524-3396 before making one more adjustment.
The math on when the attempt should have gone pro:
- If a pro would quote under an hour of labor and you’ve already spent two hours, you’ve paid the same money for worse odds.
- If the task requires a bar, a winder, or a tension hold, you’re paying for the tool and the risk.
- If you’d need to buy the tool for this task alone, the tool usually costs more than the labor you were trying to save.
- If the door is out of balance (rises easily, but doesn’t stay put when half-open), the underlying problem is a spring, not a roller or hinge, and that’s a pro task.
The flat-out recommendation: if the diagnosis isn’t obvious, call a technician. A good diagnostic is inexpensive, and it can save the strip-down cost of undoing a wrong guess.
Brands With Proprietary Components and Warranty Clauses
Manufacturer warranty terms typically exclude owner-performed service on the counterbalance system. The wording varies, but the pattern is consistent: if a homeowner removes or adjusts the springs, cables, or bottom brackets, the warranty on those parts and the parts that depend on them can be voided. That’s not a scare tactic, it’s on the warranty card. Read it before you start, particularly if the door is still covered.
Two brands we see in University Park homes have particularly strict clauses worth checking:
- Clopay ties its warranty to professional installation and specified service procedures on the counterbalance system. The specific terms vary by door line, so the door’s own warranty document is the one that governs, not the general product page.
- Amarr takes the same approach. The warranty is on the door, but the exclusions on owner removal of springs, cables, or drum assemblies are explicit. Check the door’s stamped model number before you buy a replacement part, since parts are model-specific.
The good news is that most homeowner-appropriate DIY tasks (lubrication, roller replacement, seal swaps, cosmetics) don’t void anything. The line in the warranty is almost always the same as the line in the safety guide: the counterbalance system.
If a homeowner has already started the counterbalance work, the fastest move is to stop and get a technician to look. That’s the best way to protect whatever warranty is left. Parts availability across multiple brands matters here too. A single-brand shop may order from one manufacturer and wait weeks on a back-order. We source parts across Clopay, Amarr, Chamberlain, Genie, LiftMaster, Raynor, Wayne Dalton, and Craftsman so a repair usually happens on the first visit. Call garage door parts if you need help identifying a specific part before you attempt anything, and a technician can usually confirm the model number from a photo.
The Tools You’d Need (and Whether They Change the Math)
Some of these you probably own. Some you’d have to rent or buy, and that changes the math on whether the DIY is worth it. Here’s the honest list, tier by tier.
Tools for the homeowner-appropriate tier (most homes already have these):
- A socket set with 7/16″, 1/2″, and 9/16″ sockets (hinge bolts and track lag bolts).
- A #2 Phillips and a flathead screwdriver.
- A silicone-based or lithium-based garage door lubricant.
- A soft rag and a pair of nitrile gloves.
- A small level and a tape measure for photo-eye alignment.
Tools for the middle tier (some homes have these, some don’t):
- Two locking pliers or C-clamps to hold the door during roller replacement.
- A cordless drill with a socket driver set.
- A rubber mallet for panel seating.
- A ladder stable enough to reach the door header.
Tools for the never-DIY tier (essential, and not cheap):
- Two proper winding bars, sized correctly. Vise grips and screwdrivers are not winding bars.
- A spring-winding weight scale.
- Cable-grip tools for adjusting cable tension.
- Safety glasses and heavy gloves rated for cable work.
The math: two proper winding bars run around $30-$50, and a scale is a bit more. The tool cost alone usually exceeds the labor a technician charges for a single spring replacement, which pretty well settles the argument. The reason is that a technician uses these tools across hundreds of doors, so the cost per use is near zero. You’d use them once.
Opener tools have their own math. LiftMaster and Chamberlain smart-home openers are usually serviced through the brand’s app or a proprietary wall console, not a generic third-party tool. Genie legacy openers run on a different remote frequency band entirely. If the opener is your project, the DIY side of the line is limited to programming remotes and adjusting travel. Anything inside the opener housing is a pro task.
University Park HOA Covenants and What You Can Legally Self-Perform
University Park is one of those Front Range neighborhoods where the HOA covenant matters to garage door decisions. Several of the neighborhoods throughout University Park have exterior appearance covenants that apply to garage doors specifically: color and finish, panel style, and anything visible from the street. Some also list specific manufacturer or style requirements. Before you replace a panel, repaint the door to a different color, or install a new opener with a new light pattern, check with the HOA.
The critical bit for a DIY question: HOA rules and building permits are different things. The HOA governs how the door looks from the street. The city’s building department governs whether a permit is required for the structural or electrical work. Both can apply to the same job. For most panel replacements and cosmetic work, no building permit is required, but a new door installation sometimes is, so ask your city’s building department before you order. We can’t self-certify on your behalf, and neither can any contractor; it’s the homeowner’s responsibility to confirm.
What this means in practice for a University Park homeowner:
- Cosmetic changes (paint, seal, small panel touch-up): usually covered by HOA appearance rules. Check first, then proceed.
- Panel replacement: check the HOA’s style and color list, and confirm the panel is the same model as the door. A mismatched panel is a covenant violation even if the color is close.
- Full door replacement: HOA approval and sometimes a permit. That’s the zone where garage door installation handled by a technician is the simpler path, since the installer works with panel sizing, track alignment, and the spec sheet from the manufacturer.
- Opener replacement: HOA usually doesn’t care about the opener itself, but the new opener’s light pattern can matter to neighbors. Low-level concern; a quick read of the covenant list settles it.
- Opener programming and adjustments: no HOA or permit involvement.
The basic rule: check the HOA covenant before you buy the part. It’s easier to work from the approved list than to fight a notice after the fact. If you’re not sure which covenant applies, the HOA’s governing documents are usually posted online, and the answer is in the exterior appearance section.
Common Mistakes to Avoid
- Trying a torsion spring swap because the video “made it look easy.” The video is edited. The winding cone and the injury risk are not. Spring repair is a safety job, and the line is the same whether you’re in University Park or anywhere else.
- Using vise grips, screwdrivers, or channel-locks as winding bars. They roll off the cone, and the cone snaps back. Two proper winding bars are the only safe tool for the job.
- Removing the bottom bracket to “check” the cable. The bottom bracket is load-bearing. Once the cable is loose, the bracket and drum have to be retensioned by a technician. Don’t loosen it to inspect it.
- Buying a replacement panel or hinge without matching the brand and model. Clopay and Amarr panels don’t interchange with each other. The model number is stamped on the door’s inside edge and is usually six to eight characters long.
- Skipping the HOA check before painting or replacing a panel. A close color match is still a mismatch to a covenant inspector. Check the appearance section first, not after.
- Forgetting the safety cable on an older extension-spring door. If the door has extension springs that run along the horizontal track without a cable through the center, that’s a safety issue to fix before anything else.
- Assuming a door that reverses automatically needs a new opener. Most of the time it’s a photo-eye alignment issue or a travel-limit setting, both of which you can adjust without opening the opener housing.
See the difference
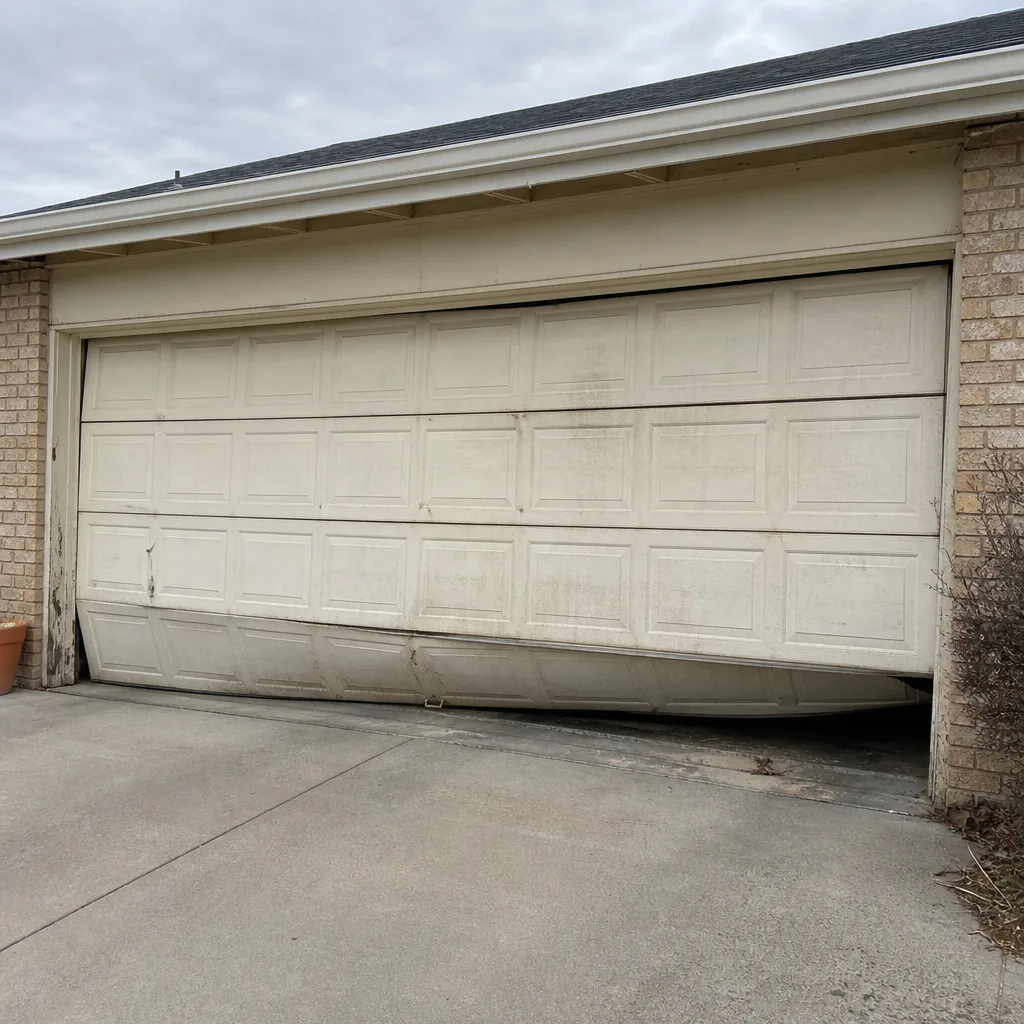 Before
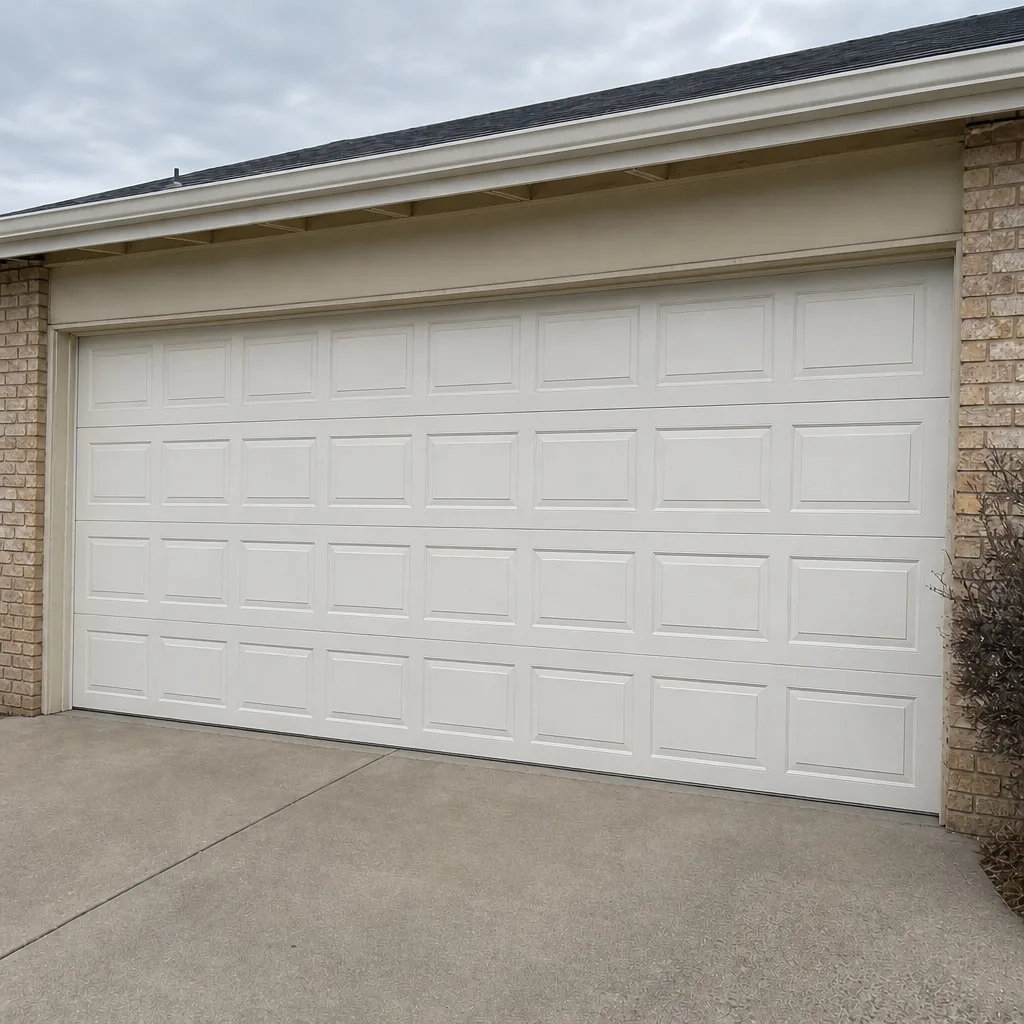 After
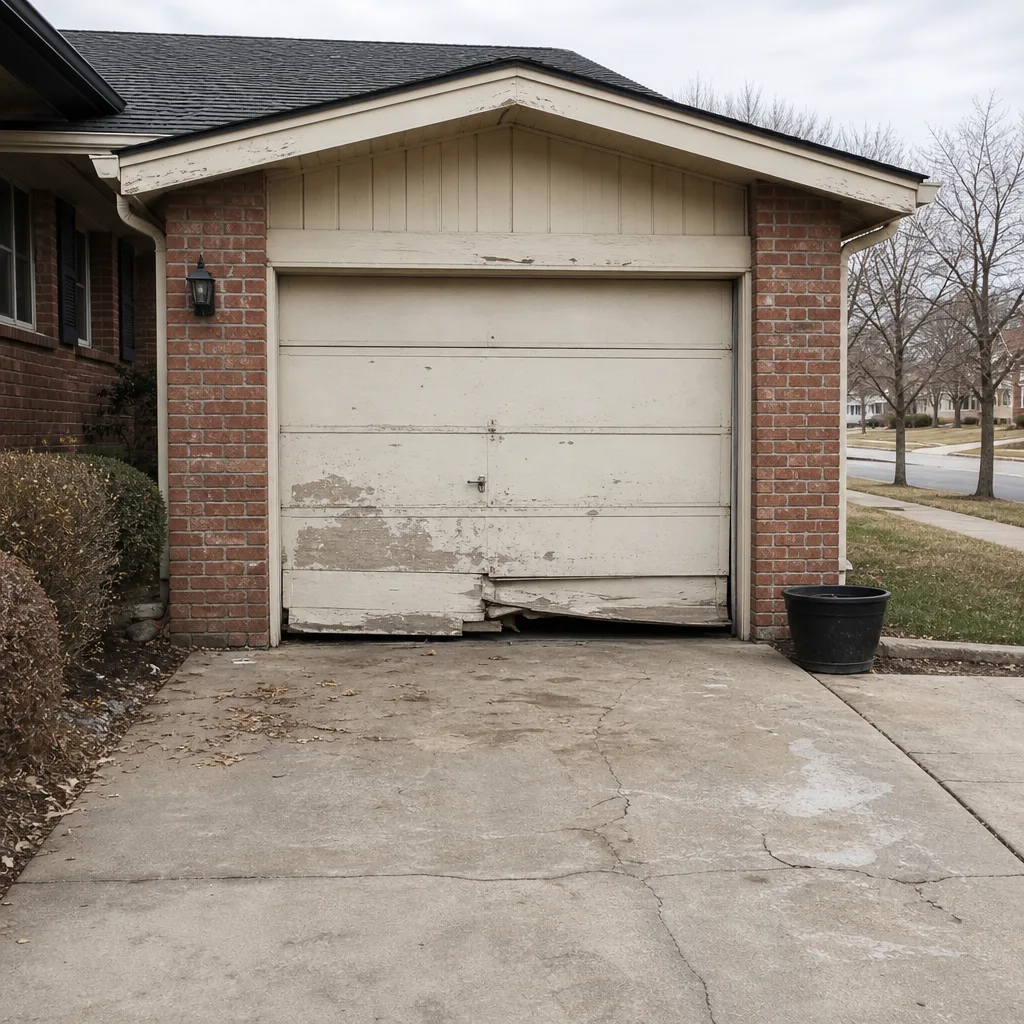 Before
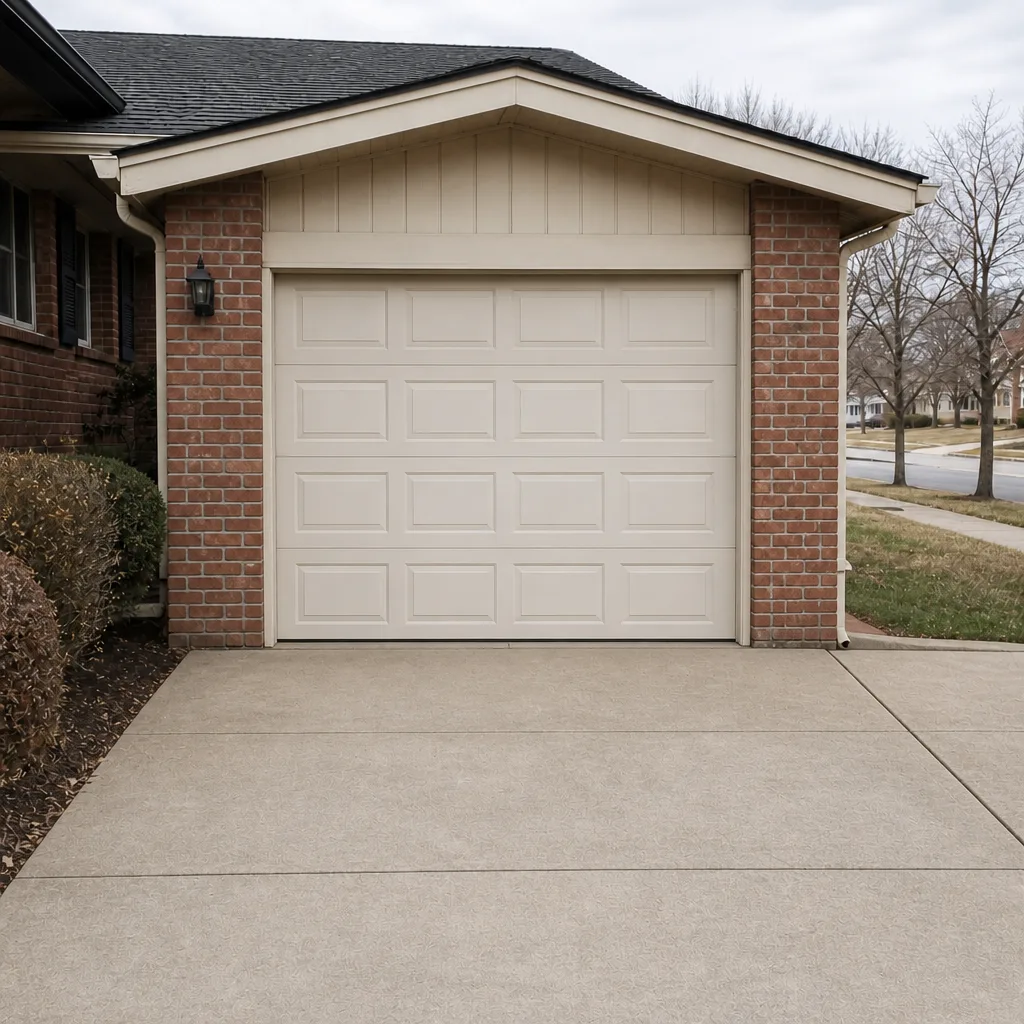 After
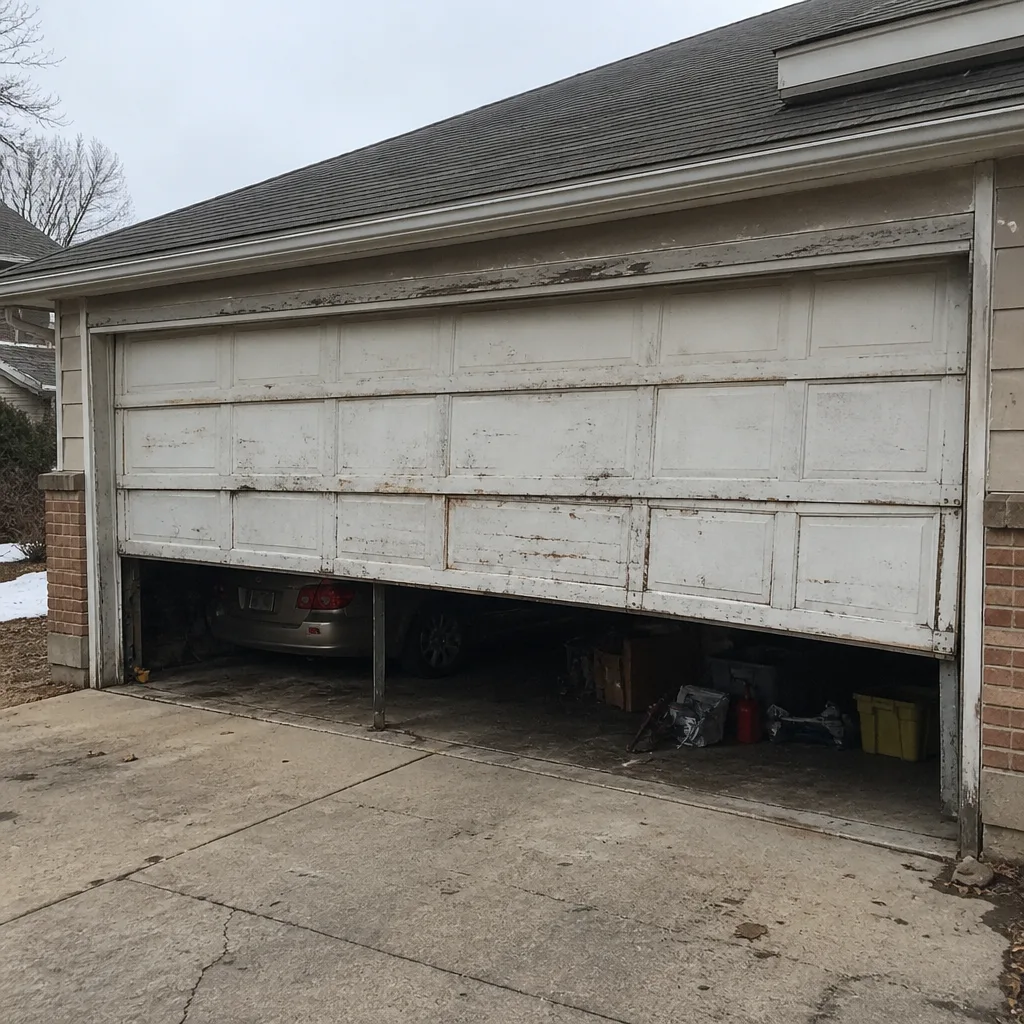 Before
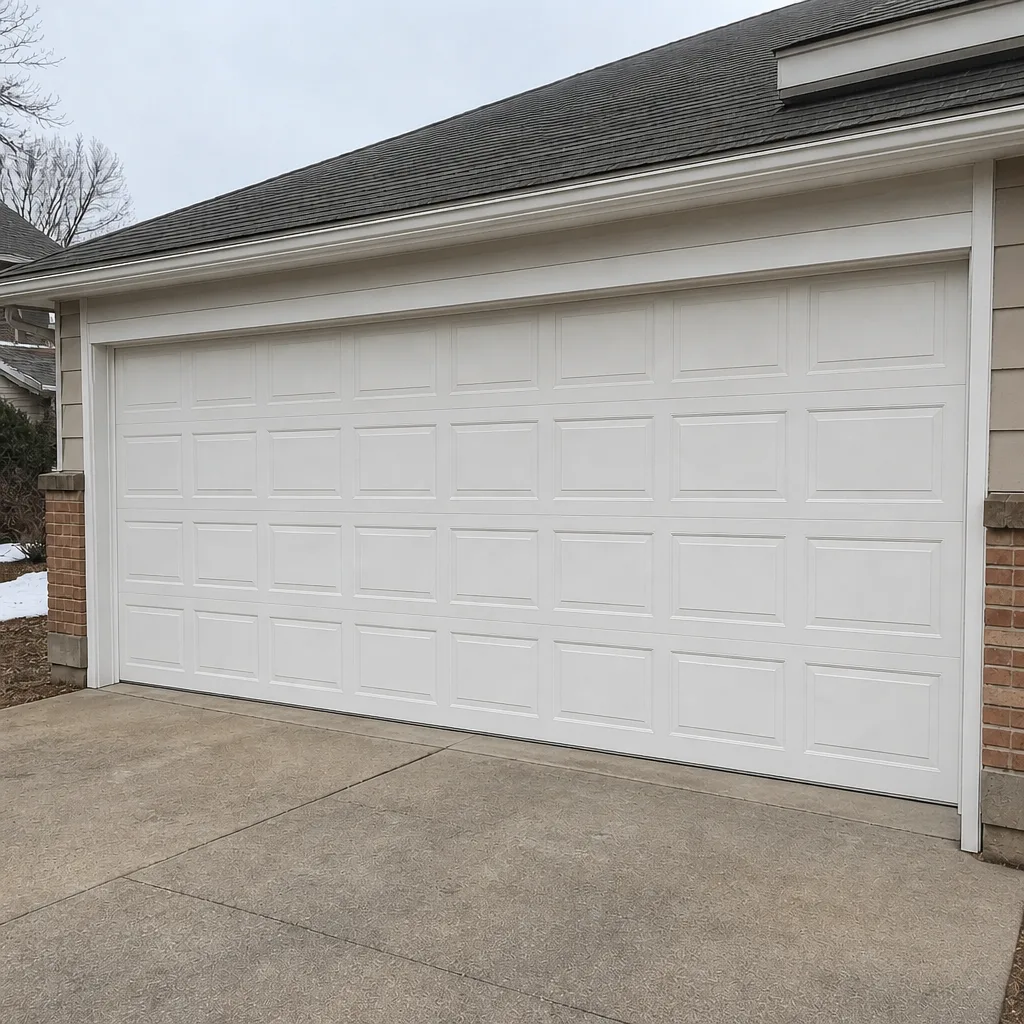 After
When to Call a Professional
Call a professional any time the task touches the counterbalance system, the door is out of balance, or you’re not sure which side of the line the task is on. That includes: a snapped or gapped spring, a loose cable, a door that won’t stay up when half-open, a door that reverses without an obvious photo-eye issue, a door that comes down too fast or too slow, a bent track that isn’t fixing with hand pressure, and any noise from the opener housing. It also includes full door replacement, panel replacement that needs a spec match, and any job that requires a permit. University Park Garage Door Repair Pros offers free estimates in University Park. Call (844) 524-3396 and we’ll tell you plainly whether the job is a pro task or a homeowner one.
Frequently Asked Questions
Lubricating tracks and rollers, tightening exposed bolts, cleaning and aligning photo-eyes, adjusting opener travel limits, replacing the bottom weather seal, and cosmetic touch-ups are genuinely homeowner-appropriate. Anything that touches springs, cables, drums, bottom brackets, or the counterbalance system is not, regardless of experience. If you’re not sure which side your task falls on, call (844) 524-3396 for a free assessment.
Yes. Torsion springs store enough torque to cause permanent injury in under a second if the winding cone slips, and the tool that prevents that slip is a proper set of winding bars, not vise grips. Even experienced technicians treat spring replacement as a safety job. Call (844) 524-3396 and we’ll handle the spring repair with the right tools.
It can, depending on the brand and the part. Clopay and Amarr, both common in University Park homes, have warranty clauses that exclude owner-performed service on the counterbalance system. Read the door’s own warranty document before you start. If you’re unsure what’s covered, call (844) 524-3396 and a technician can usually look up the model.
It depends on the mistake, but the pattern is that a failed attempt often damages the part you were trying to fix, so a technician has to undo and redo rather than just fix. The re-work charge on top of the original job is usually less than another full repair but more than the labor you were trying to save. Call (844) 524-3396 for an exact quote, and estimates are free.
Often just one panel can be replaced. The panel has to match the door’s stamped model number and brand, since Clopay and Amarr panels don’t interchange, and if the door is under warranty the panel must match for coverage. A single panel swap is a homeowner-appropriate job if you’re comfortable with hinge work and the door is fully open. Call (844) 524-3396 if you need help identifying the model or if the panel is next to the bottom bracket.
Yes, in some neighborhoods. Several University Park HOAs have exterior appearance covenants covering door color, panel style, and sometimes manufacturer requirements, and those rules apply whether you do the work yourself or hire it out. Check the covenant’s exterior appearance section before you buy a part or order a panel. Call (844) 524-3396 with the covenant in hand and we can usually tell you what will and won’t match.
The Bottom Line
The DIY-versus-professional question on a garage door isn’t a skill test. It’s a component test. If the task touches springs, cables, drums, or bottom brackets, that’s a professional job, and no video, tool, or can-do attitude changes it. If it’s lubrication, adjustment, photo-eyes, seals, or a single matching panel, it’s genuinely homeowner-appropriate and worth doing yourself. Everything in between needs a closer look, and the closer look is free. Add the HOA covenant check for University Park, and you have a decision guide that actually holds up. Call University Park Garage Door Repair Pros at (844) 524-3396 for a free estimate and a straight answer on which side of the line your job is on.
Written by the team at University Park Garage Door Repair Pros.