Last updated November 22, 2026
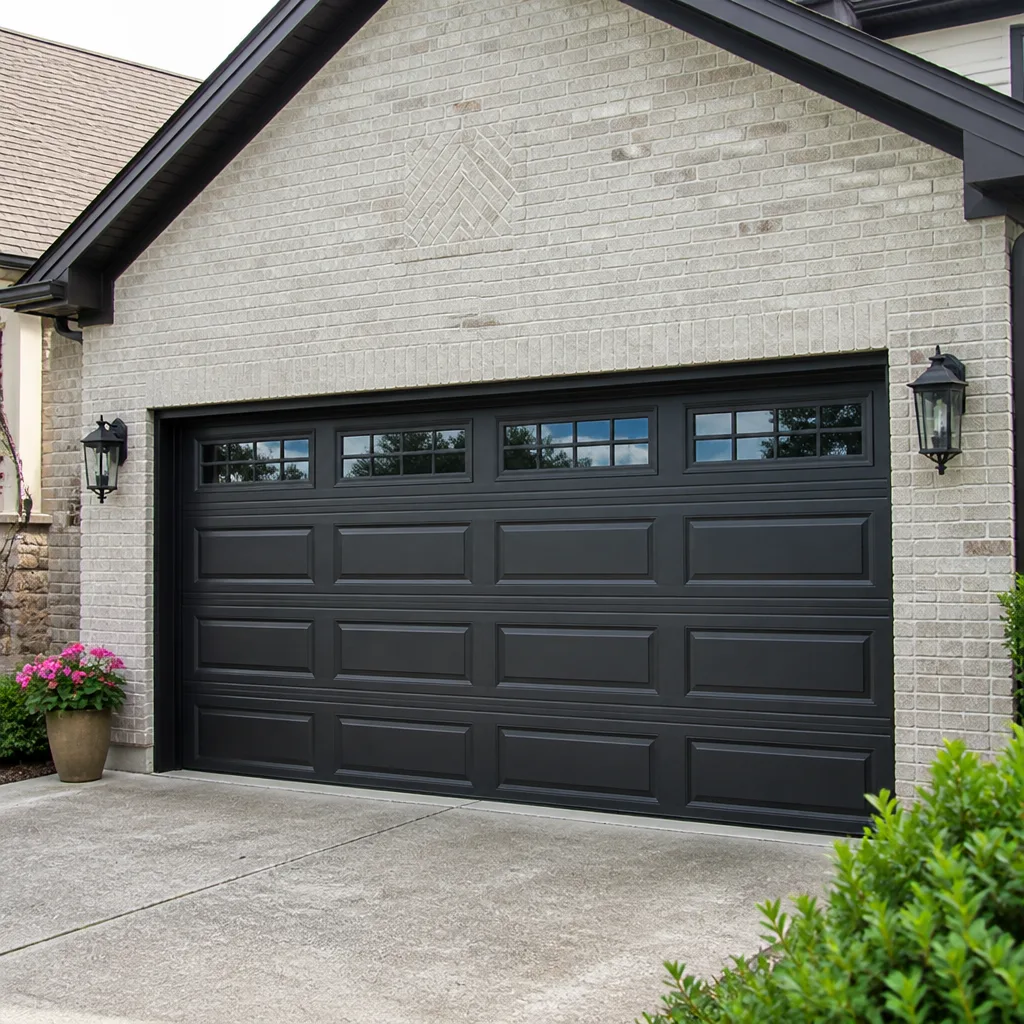 Raised-panel steel
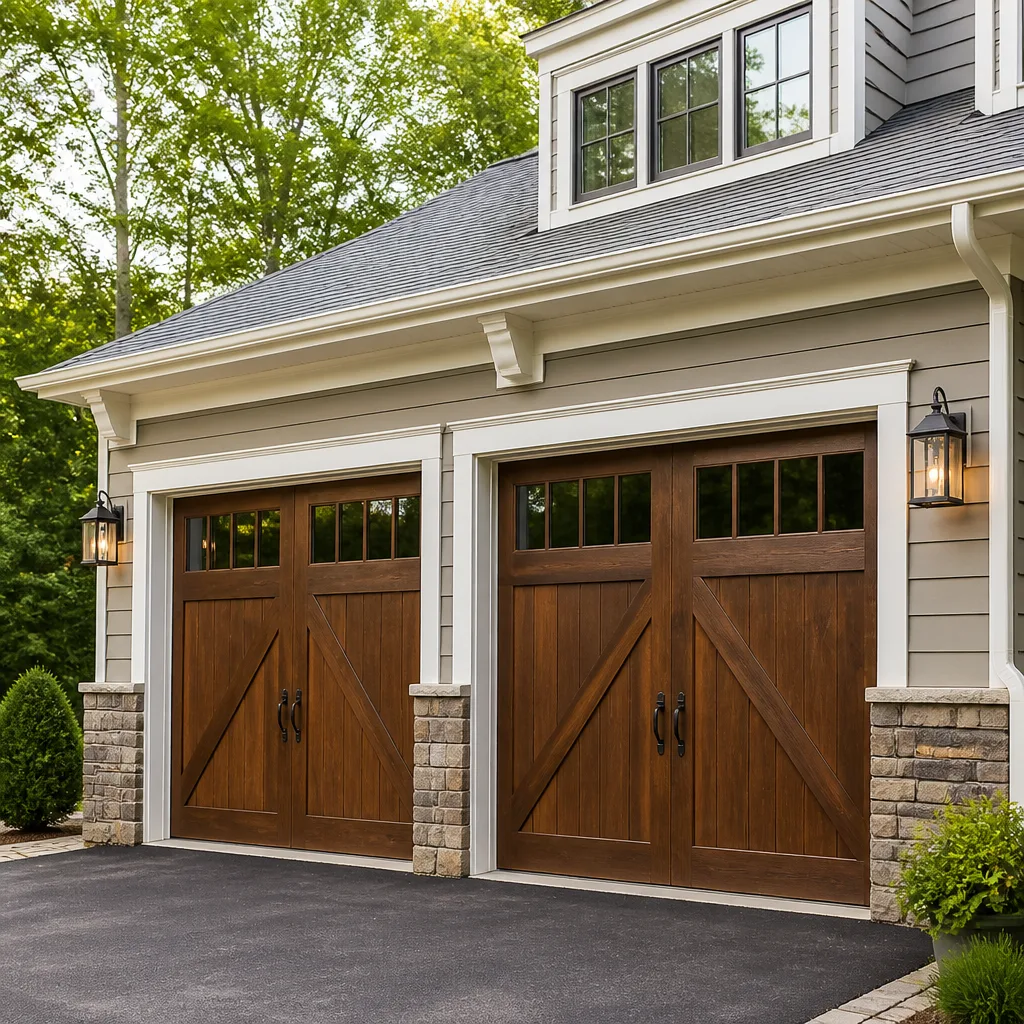 Carriage house
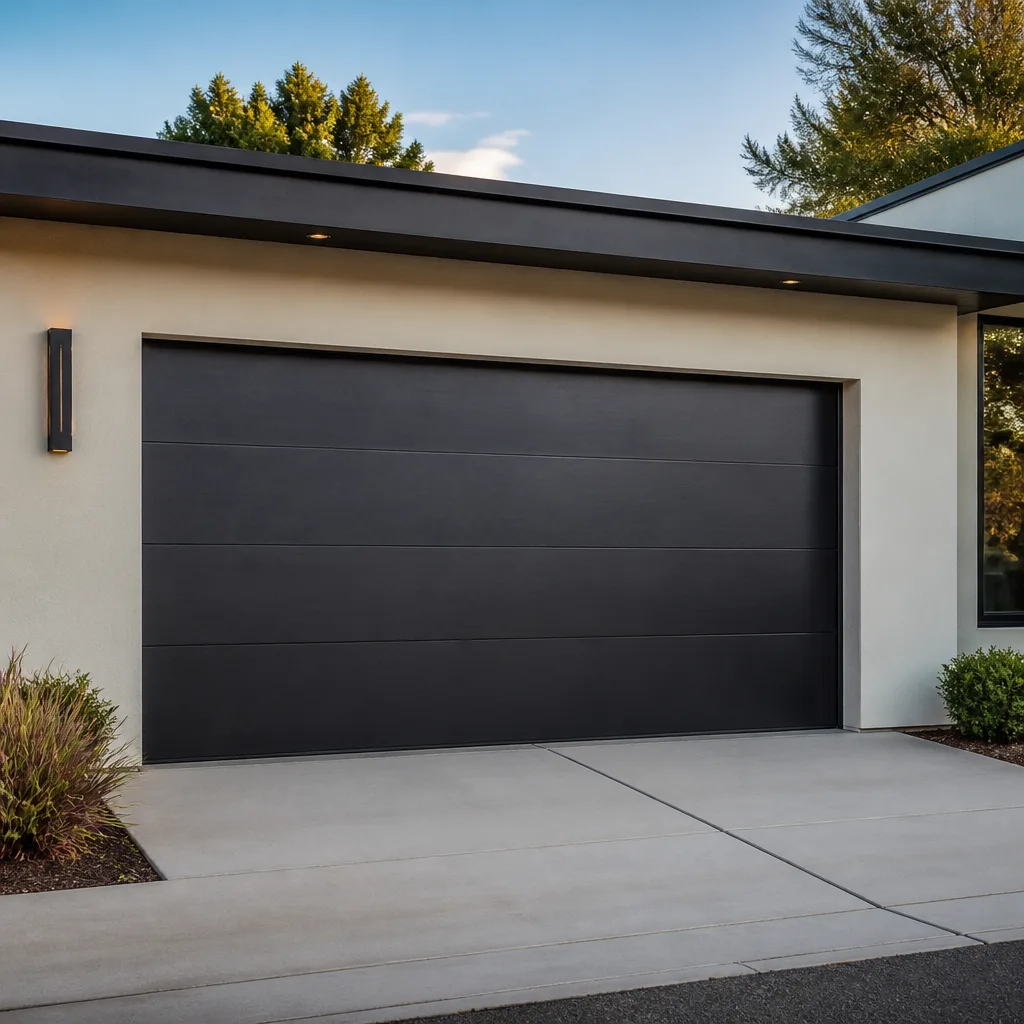 Modern flush
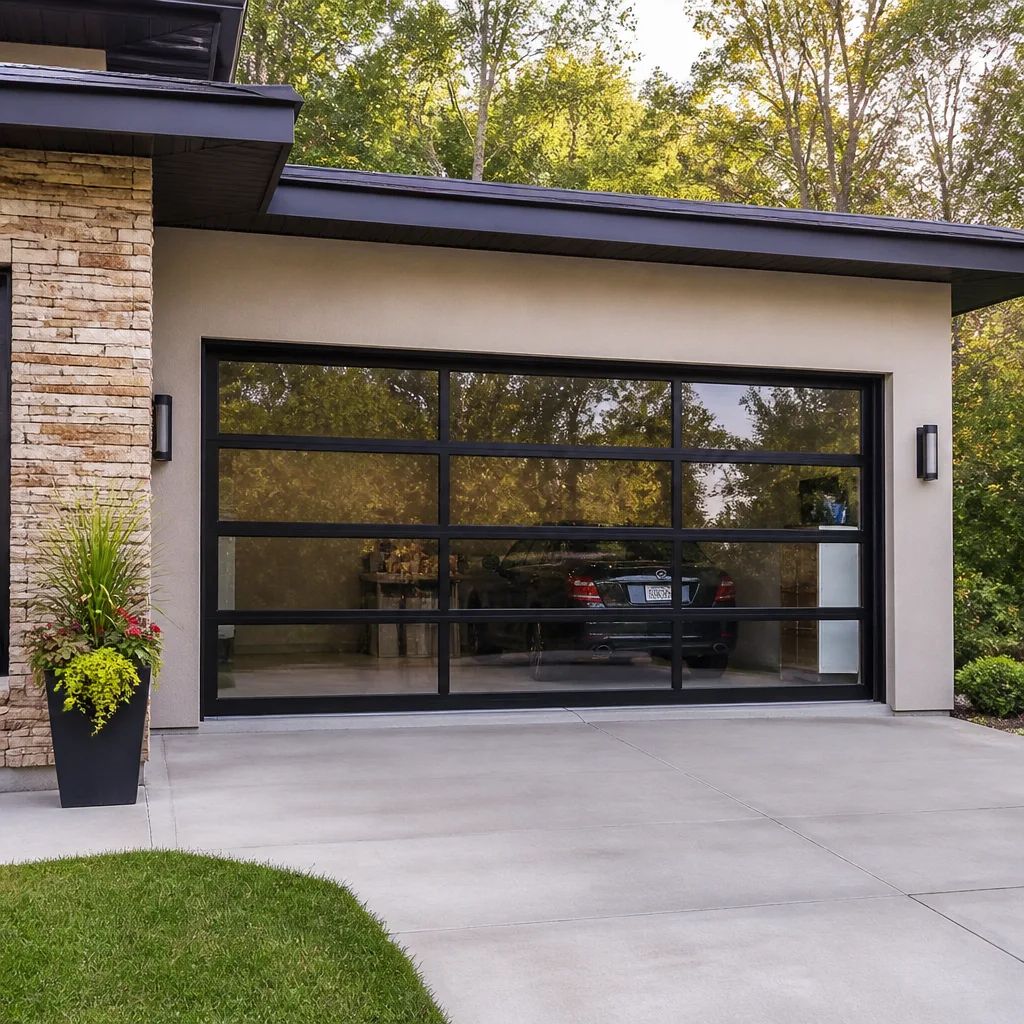 Full-view glass
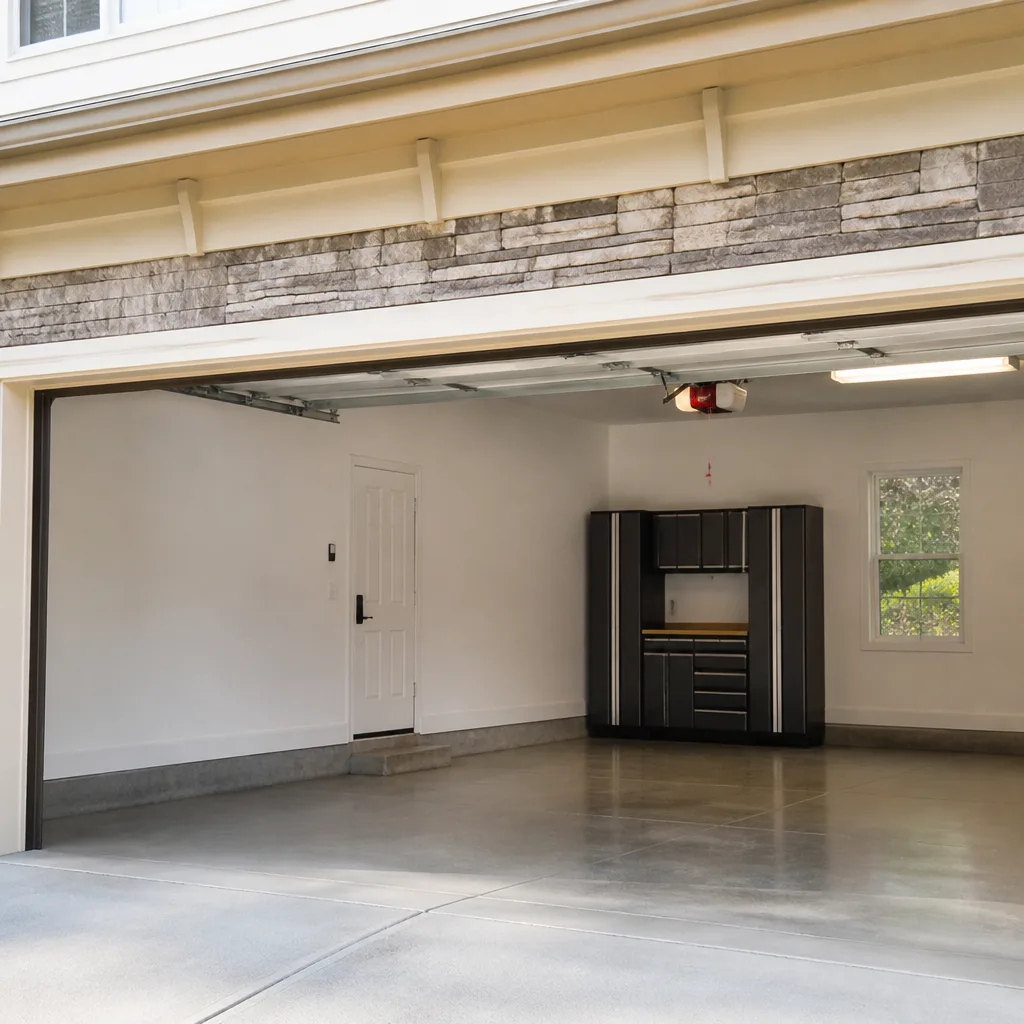 LiftMaster openers
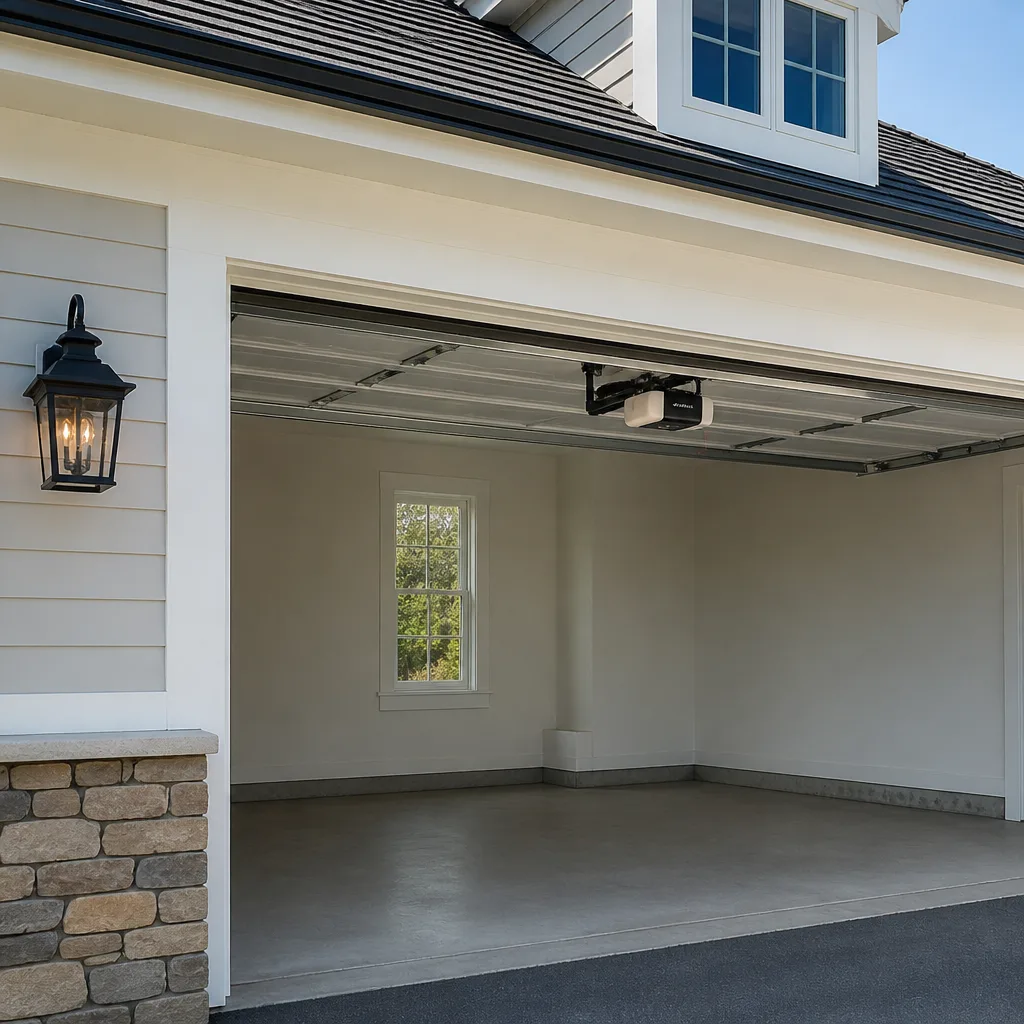 Chamberlain openers
Full 25-point door and opener safety check with every visit - springs, cables, rollers, tracks, and your LiftMaster or Chamberlain opener included
You get a price before we start. It does not change when the pro arrives.
Get your free estimateGarage Door Repair Maintenance Checklist for University Park Homeowners
Lubricating hinges you should have replaced six months ago isn’t maintenance. It’s postponing a service call. Most garage door checklists you’ll find online are organized alphabetically or by whatever the writer remembered first, and that ordering hides the real risks. A door doesn’t fail because the rollers got dry. It fails because a torsion spring fatigued past its cycle limit, or a cable drum drifted out of alignment, and nobody was watching those two things closely. University Park’s climate puts specific stress on specific parts, and a checklist that ignores that sequence is just busywork. This guide orders every task by failure likelihood in our local conditions, separates what you can safely inspect from what needs a technician’s torque measurements, and tells you what each warning sign actually means.
Quick Answer
A garage door maintenance checklist for University Park should be sequenced by failure risk, not convenience: torsion spring inspection first, cable drum alignment second, weather seal condition third, opener force limits fourth, then balance, rollers, hinges and hardware. In University Park’s cold winters and intense high-altitude UV, springs and seals degrade faster than manufacturer estimates suggest, so those two checks matter most. Homeowners can safely do visual inspections and light lubrication; spring adjustments, cable work and torque measurements belong to a trained technician.
Styles & brands we work with
- Raised-panel steel
- Carriage house
- Modern flush
- Full-view glass
- LiftMaster openers
- Chamberlain openers
Table of Contents
- Why the Order of Your Checklist Matters More Than the List
- Torsion Spring Inspection: The First Check, Every Time
- Cable and Drum Alignment: The Sign Most Homeowners Miss
- Weather Seal Degradation in Colorado UV and Cold
- Opener Force Limits and Seasonal Door Weight
- Balance, Rollers, Hinges and Hardware
- What You Can Safely Inspect vs. What Needs a Technician
- A Seasonal Maintenance Calendar for University Park
Why the Order of Your Checklist Matters More Than the List
Every garage door maintenance checklist covers roughly the same parts. Springs, cables, rollers, hinges, weather seal, opener. The difference between a checklist that prevents breakdowns and one that just fills a Sunday afternoon is the order you work through them. A door with a fatiguing spring will chew through rollers and stress the opener motor. Lubricating those rollers without catching the spring first means you’ve made the secondary symptom quieter while the primary problem gets worse. That’s the trap.
In University Park, the sequencing question gets sharper because of temperature swings along the Front Range. Metal expands and contracts through a wider range here than in milder climates, and wood panels take on and release moisture with the seasons. A component that looks fine in July can bind in January. So the checklist we use with homeowners starts with the parts that fail catastrophically and works toward the parts that fail gradually.
Here’s the priority order we recommend, and we’ll take each one in turn through the rest of this guide:
- Torsion springs (highest failure risk, highest injury risk)
- Cable drums and cables (second-highest failure risk, and the hardest to spot)
- Weather seals and bottom rubber (degrades fastest in our climate)
- Opener force limits and safety reverse (affects daily safety)
- Door balance and travel
- Rollers, hinges, bearings and fasteners
If you only have fifteen minutes, spend it on items one and two. Those are the ones that turn a repair into an emergency. Everything below is maintenance in the ordinary sense.
Torsion Spring Inspection: The First Check, Every Time
Torsion springs are the single component most likely to fail on a garage door, and they’re the one you should never touch yourself. They store enough energy to lift a door weighing a few hundred pounds, and when they break, that energy releases at once. Spring repair is a safety job, full stop. What you can do is inspect them visually and know what you’re looking for.
Colorado’s cold accelerates metal fatigue. A spring rated for a standard number of cycles doesn’t last as long when it spends a third of the year working through sub-freezing mornings and warm afternoons. High-cycle use in cold climates is the reason we treat spring inspection as the first item on every University Park checklist rather than an annual afterthought.
Here’s the inspection protocol. Visual only. Don’t touch the springs or try to move them:
- Look for a visible gap. A broken torsion spring separates into two pieces, usually with a distinct gap in the coil. If you see one, stop using the door and call for repair.
- Check for a stretched or uneven coil. A spring that’s lost tension looks longer or more loosely wound than its neighbor on a two-spring system.
- Listen for a loud bang from the garage. If you heard one and the door won’t lift, the spring has likely already failed.
- Note the color code on the winding cone. The paint band tells a technician the spring’s wire gauge and inside diameter, which speeds up getting the right replacement part on the first visit.
One more thing about pairs. If your door has two torsion springs, they were installed matched and they wear at the same rate. Replacing one and leaving the other is a false economy; a matched pair is usually replaced together, and a pair costs roughly twice a single spring. A technician will measure both before recommending anything, and the written estimate should reflect exactly what’s being replaced.
If your inspection turns up a gap, a snap, or a door that suddenly won’t lift, that’s the moment to stop and call. Our garage door spring repair service exists for exactly this, and the price is quoted and agreed before any work begins.
Cable and Drum Alignment: The Sign Most Homeowners Miss
Cable drums sit at each end of the torsion shaft, and the cables wind around them to lift the door. When the drums drift out of alignment, the cables wind unevenly, one side lifts higher than the other, and eventually a cable can snap. In temperature-stressed systems, that misalignment is usually the first warning before a failure. It’s also the check most homeowners skip entirely, because the drums are up high and easy to ignore.
You can look without touching. Here’s what to check:
- Look at both drums from the floor. The cable should be wound in neat, tight, even coils. Loose or crossed winding is a red flag.
- Watch the door travel. If one side of the door rises before the other, the drums or cables need attention.
- Check the cable for fraying or kinks near the drum. Frayed strands mean the cable is close to failing.
- Look at the door’s horizontal line. A door that sits visibly crooked when closed can indicate uneven cable tension.
Cables are under extreme tension, and a cable that lets go can whip with enough force to injure someone standing nearby. Never adjust a drum, wind a cable, or try to tighten one. If you see anything on this list that looks wrong, close the door, leave it alone, and have a technician look at it. This is the second most urgent item on the University Park checklist for a reason: a drifting drum is a small problem that becomes a serious one fast. Our garage door repair technicians are trained on the specific mechanics of the systems in your garage, so the diagnosis is based on what’s actually wrong rather than a guess.
Weather Seal Degradation in Colorado UV and Cold
The bottom weather seal is the cheapest part on your door and the one that degrades fastest in University Park’s climate. Seal manufacturers state a lifespan based on average conditions, and our UV exposure and freeze-thaw cycles push past that. Rubber and vinyl break down under sun that’s more intense at this altitude, and cold makes a hardened seal crack instead of flexing. A seal that looks fine in May can be brittle and leaking by November.
A worn seal does more than let in drafts. It lets in snowmelt, insects, and cold air that stress the rest of the system, and it lets out conditioned air you’re paying for. It also matters for the gap between the door and the floor, which is where water gets in during a Front Range melt.
Check your seal with a simple test:
- Look for visible cracks, tears or chunks missing. Any break in the seal means it’s no longer sealing.
- Press the bottom rubber with your thumb. It should flex and bounce back. If it feels hard or leaves a permanent dent, it’s aged out.
- Shut the door on a piece of paper. If you can pull the paper out easily from several spots along the bottom, the seal isn’t making contact.
- Check the sides and top too. The perimeter seal degrades on the same schedule as the bottom.
Replacing a bottom seal is one of the few jobs a handy homeowner can do themselves, provided the door is in good working order and the opener is disconnected. Sourcing the right profile matters, though, since seals are brand-specific and a universal fit often leaks. We supply parts across Clopay, Amarr, Wayne Dalton and other major brands, so the right part comes from the right manufacturer rather than a one-size approximation. If you’d rather not crawl under the door, this is a quick job for a technician and a good time to have the whole door inspected.
Opener Force Limits and Seasonal Door Weight
Your opener has a force limit setting that tells the motor how hard to push before it gives up. That setting exists for safety: if the door meets an obstruction, the opener should reverse. But force limits are set relative to the door’s weight, and a garage door’s weight changes with the seasons. Wood panels absorb humidity in the summer and dry out in the winter, and the difference can add several pounds to what the opener has to lift. A force limit set in August may be too low come January, or the reverse.
That’s the reasoning behind checking force limits twice a year in University Park, once after the summer humidity has set in and once after a cold dry spell. This is also where the safety reverse test belongs. Every opener built since 1993 has required a safety reverse feature, but the feature only works if it’s tested.
Here’s the once-a-year procedure. It’s safe to do yourself:
- Disconnect the opener using the manual release so the door moves freely.
- Lift the door halfway and let go. A balanced door stays put. A door that drops needs spring or balance service, not opener adjustment.
- Reconnect the opener and close the door.
- Lay a roll of paper towels flat under the door and press the close button. The door should hit the roll and reverse immediately. If it doesn’t, the safety reverse needs attention.
- Test the photo-eye sensors by passing an object through the beam while the door is closing. It should stop and reverse.
Working across LiftMaster, Chamberlain and Genie openers, we see the same pattern: force limits set once at installation and never revisited. If your door reverses for no clear reason, or strains audibly at the end of travel, the opener may be trying to compensate for a heavier door. Those are both signs to call for garage door opener repair rather than fiddle with the limit screws. Force limits should be set by a technician who’s measured the door’s actual weight against the manufacturer’s spec, not adjusted by feel.
Balance, Rollers, Hinges and Hardware
Once springs, cables, seals and the opener are accounted for, the rest of the checklist is traditional maintenance: rollers, hinges, bearings and the door’s balance. These parts fail gradually, so they’re lower risk, but they still cause their share of service calls. A dry roller squeals for weeks before it seizes. A worn hinge lets the door rack out of square. None of these are emergencies, and all of them are easy to stay ahead of.
Work through this list a couple of times a year:
- Check the door’s balance. Disconnect the opener, lift the door to shoulder height and let go. It should stay put. If it drops or rises, the spring tension is off and a technician should correct it.
- Inspect the rollers. Steel rollers wear and develop flat spots; nylon rollers crack. Look for wobble and listen for grinding. Replace worn rollers in matched sets.
- Wipe and lubricate the hinges, rollers and torsion shaft bearings. Use a silicone spray or white lithium grease, not oil. A dry hinge is a future binding point.
- Tighten loose fasteners. Torque the hinge and bracket bolts gently. Overtightening splits panels, especially in cold weather when metal is less forgiving.
- Clear the tracks. Wipe the track interior with a damp cloth. Don’t grease the tracks themselves; grease collects grit and binds the rollers.
Raynor and Craftsman doors we see around University Park often have original rollers and hinges that are decades old. If yours are from the original install, expect to replace them in sets. That’s routine maintenance, not a sign the door is failing. The same maintenance habits that keep a door quiet also catch problems while they’re still cheap to fix. A thorough garage door repair visit can handle rollers, hinges and a complete inspection in one trip.
What You Can Safely Inspect vs. What Needs a Technician
The most useful skill in garage door maintenance is knowing where your limits are. Some tasks are safe for a careful homeowner with a flashlight and a can of silicone spray. Others involve stored energy that will hurt you if you get it wrong. Here’s the honest split.
Safe for a homeowner with basic tools
- Visual inspection of springs, cables, drum alignment and door levelness
- Checking the weather seal with the paper test
- Lubricating hinges, rollers and bearings
- Cleaning the tracks
- Testing the opener’s safety reverse and photo-eye sensors
- Tightening loose hinge and bracket screws
- Replacing the bottom weather seal on a door that’s otherwise in good condition
Requires a trained technician
- Replacing or adjusting torsion springs or extension springs
- Rewinding or replacing cables
- Adjusting cable drum alignment
- Setting opener force limits to the manufacturer’s specification
- Correcting door balance by adjusting spring tension
- Replacing rollers on a door with a failing spring
- Any repair requiring torque measurements on the torsion shaft
The line between these two lists isn’t about skill. It’s about stored energy. Springs and cables hold enough force to cause serious injury, and the tools required to handle them safely are specialist equipment. Everything on the second list needs a trained professional, and the first list doesn’t. If you’re unsure which side a task is on, it’s on the second. University Park Garage Door Repair Pros offers free estimates on anything on the technician list; call (844) 524-3396 and we’ll tell you what the job involves.
A Seasonal Maintenance Calendar for University Park
University Park’s climate makes the calendar easy: spring and fall are the two checkpoints that matter, because both sit right after a season that stresses the door hardest. Here’s how to spread the checklist across the year so nothing gets skipped.
Spring: After the coldest stretch ends
- Full spring and cable inspection. Winter is when metal fatigue advances most, so this is the first check of the year.
- Test opener force limits and safety reverse after the winter’s dry air has dried out wood panels.
- Inspect the bottom seal for freeze damage and cracking.
- Clean and lubricate the tracks, rollers and hinges after winter grit.
Fall: Before the first freeze
- Second spring and cable inspection, after the summer’s heat and humidity have done their work.
- Re-test the opener force limits now that wood panels have absorbed summer humidity and the door is heavier.
- Check the seal again for UV damage from the summer’s sun.
- Balance test the door with the opener disconnected.
- Add the occasional check after a long stretch of hot, dry weather or a cold snap, since those are the points where door weight shifts fastest.
Between those two checkpoints, a quick visual once a month is enough to catch anything sudden. If the door starts sounding different, moving differently, or reversing for no reason, that’s your signal to move a check up the calendar. University Park homeowners with older doors, or doors that run multiple times a day, benefit from both seasonal checkpoints; a door that’s open and closed four times a day is doing far more work than a typical one and will reach its cycle limits sooner. For a full professional tune-up, or if your inspection turns up something on the technician list, garage door repair covers all of it in a single visit.
Common Mistakes to Avoid
- Greasing the tracks. This feels like maintenance but it’s the opposite. Grease collects grit, the grit binds the rollers, and now you have a problem you didn’t have before. Tracks should be wiped clean and dry, never lubricated.
- Replacing only one spring on a matched pair. A pair wears at the same rate. Replacing one and leaving the other means you’ll be back for the same service call sooner, and the new spring will take more load than it should while the old one finishes its cycles. Replace them together.
- Turning up the opener’s force limit to compensate for a heavy door. This bypasses the safety feature the limit exists to provide. If the door is hard to lift, the problem is balance or springs, not the opener. Given University Park’s seasonal humidity swings, force limits need to be retested twice a year rather than cranked up once.
- Ignoring an uneven door because it still opens. A door that sits crooked or lifts unevenly is showing you a cable drum problem. That’s the earliest sign of a cable about to fail, and it’s easy to see if you’re looking.
- Assuming the seal is fine because it hasn’t torn. In our high-altitude UV, a seal can harden and fail to seal long before it visually cracks. Test it with the paper trick rather than eyeballing the surface.
- Skipping the balance test. It takes thirty seconds and tells you more about the health of your springs than anything short of a technician’s measurement. If the door won’t stay put at shoulder height, spring tension is off and it’s time for a professional look.
- Waiting for the spring to break before calling. Most spring failures give warning signs: louder operation, slow lifting, a door that reverses at the top. Catch a fatigued spring early and the fix is straightforward. Wait for the snap and it’s an emergency.
See the difference
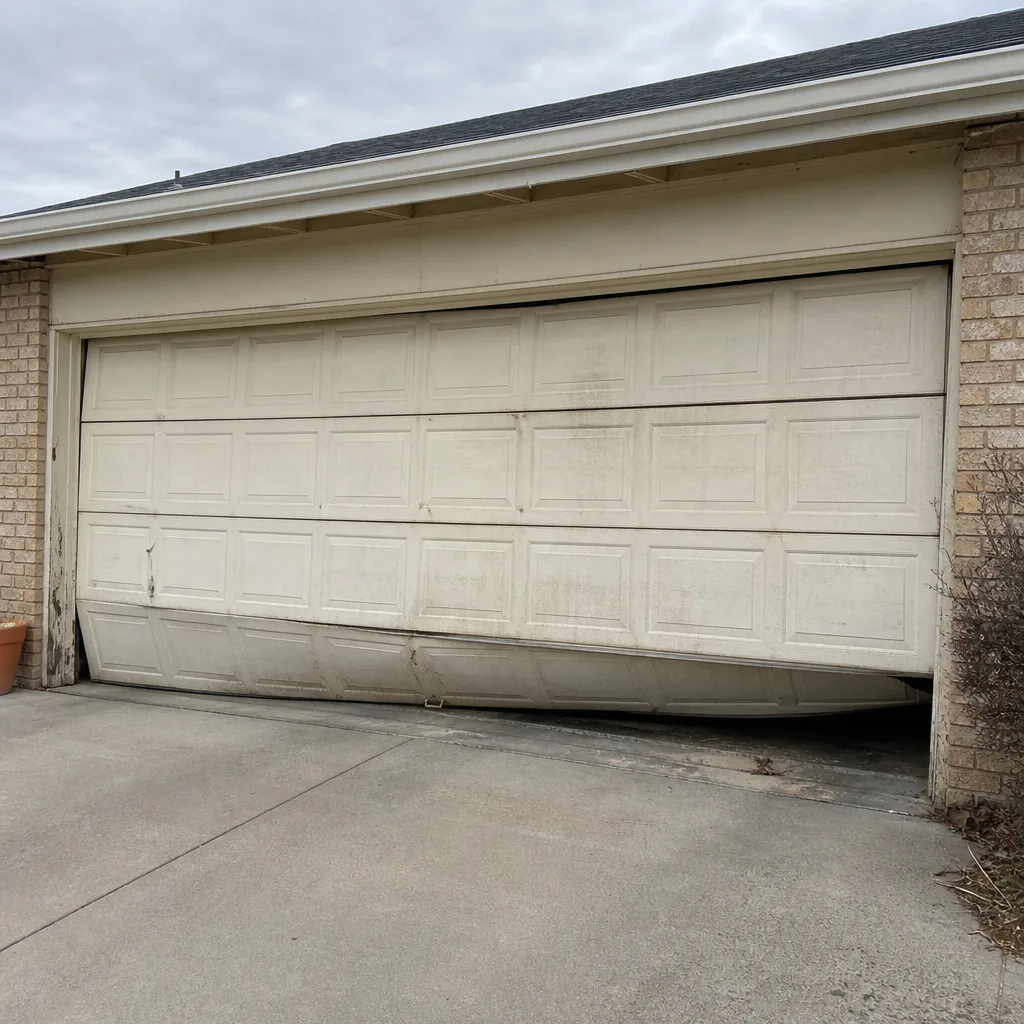 Before
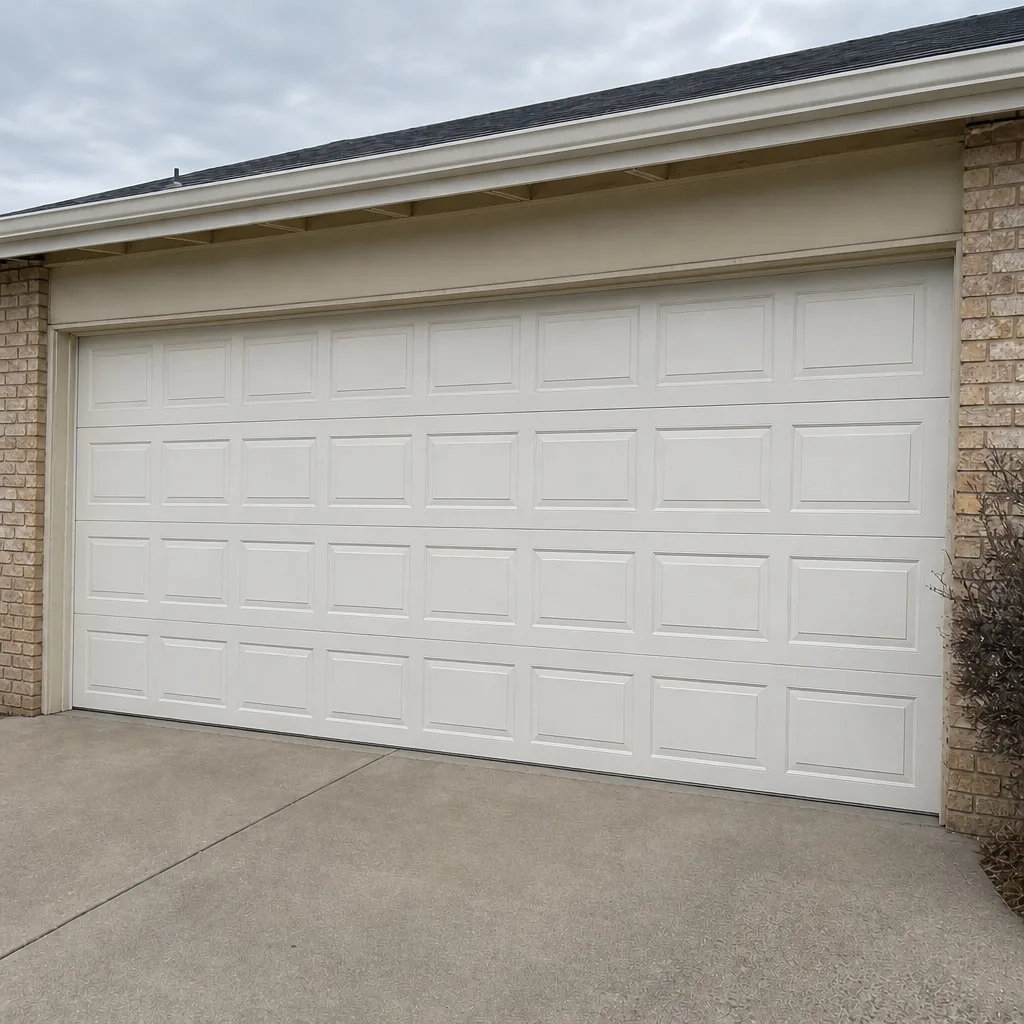 After
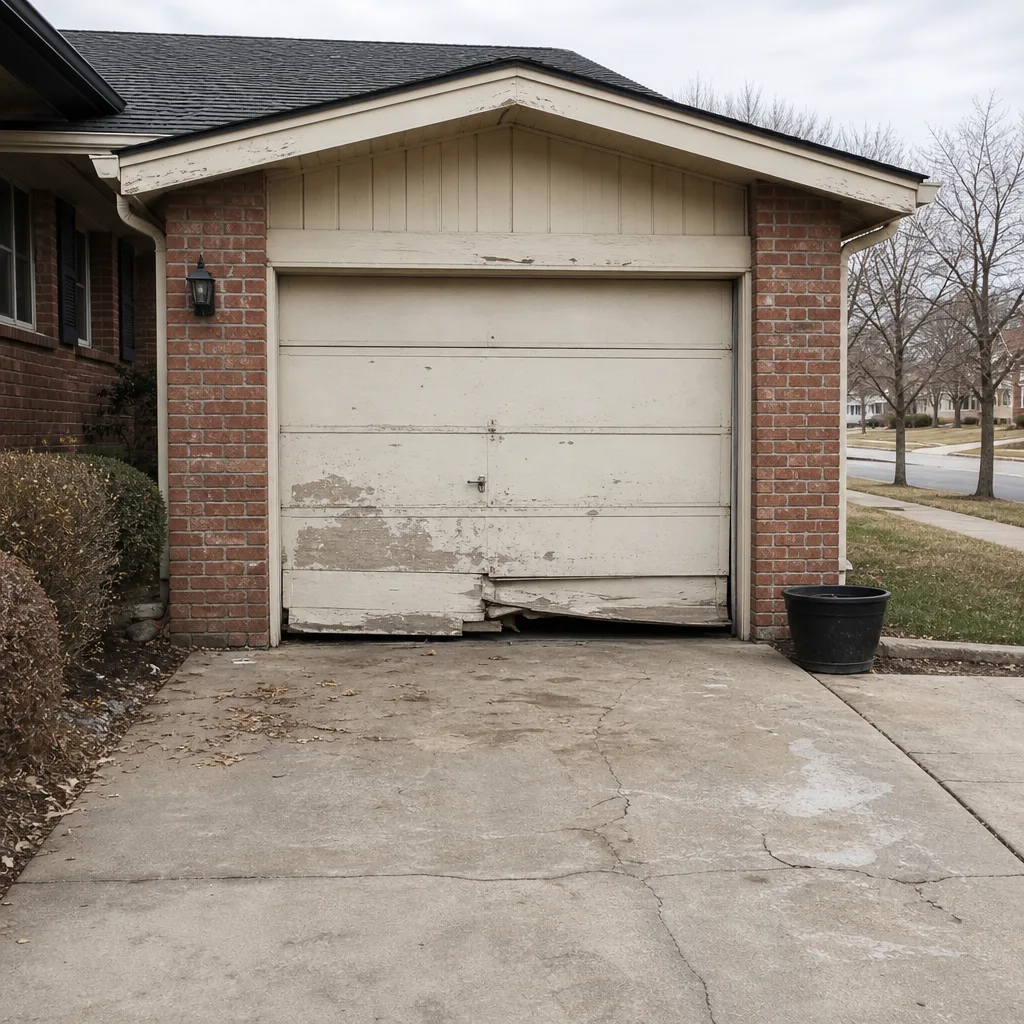 Before
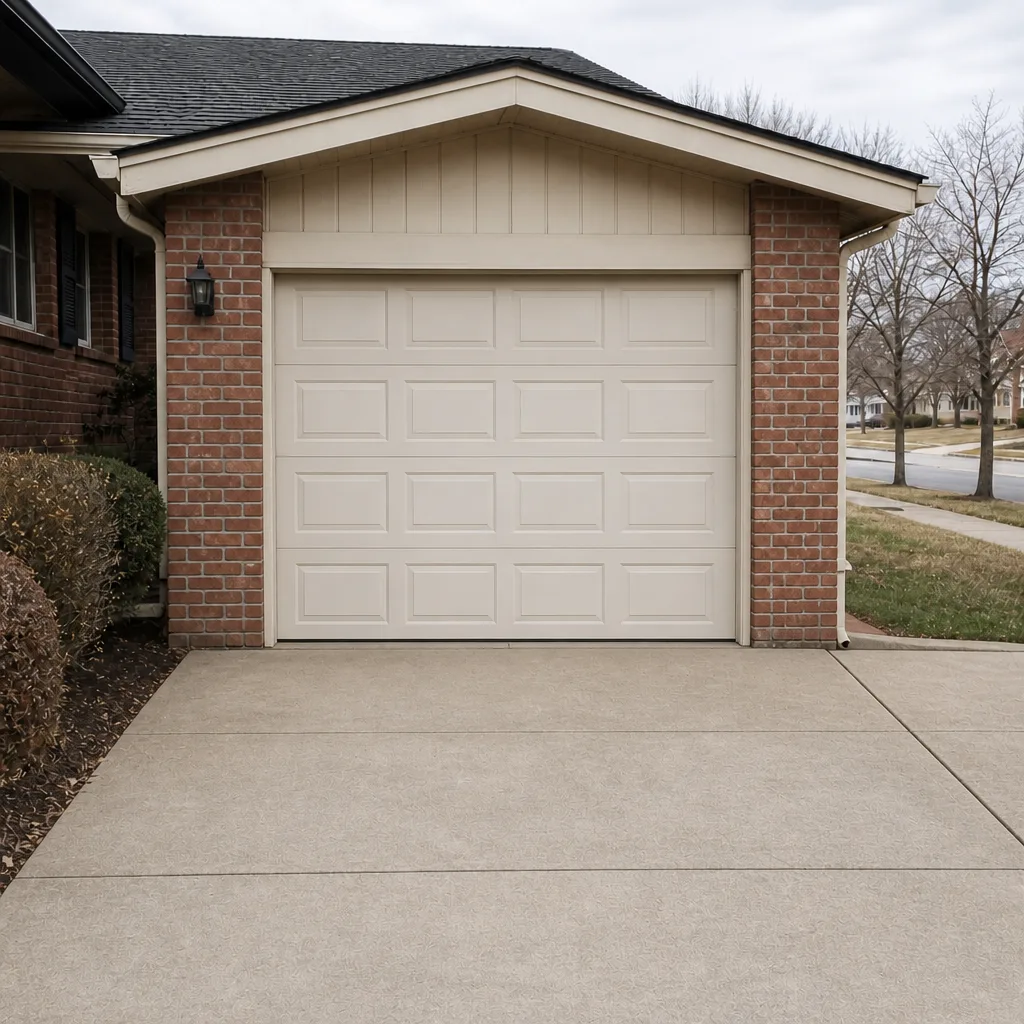 After
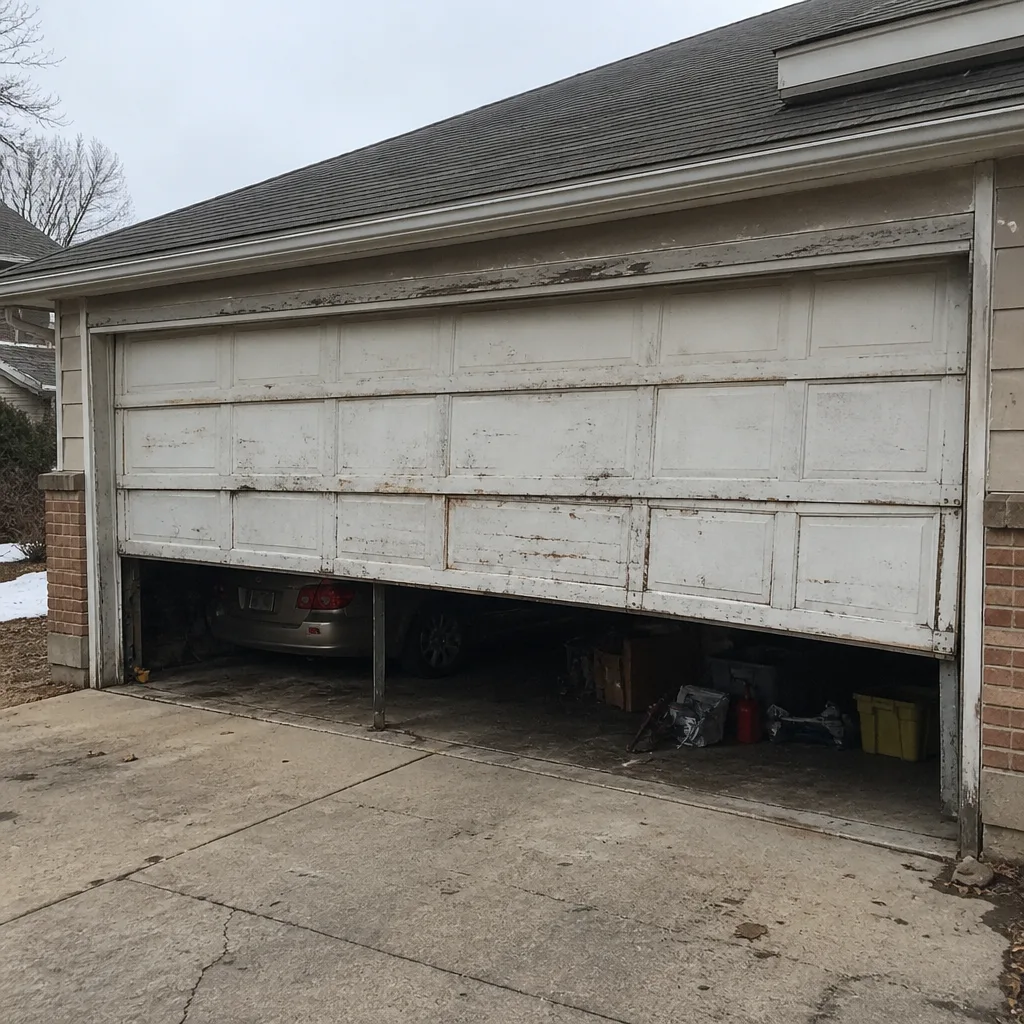 Before
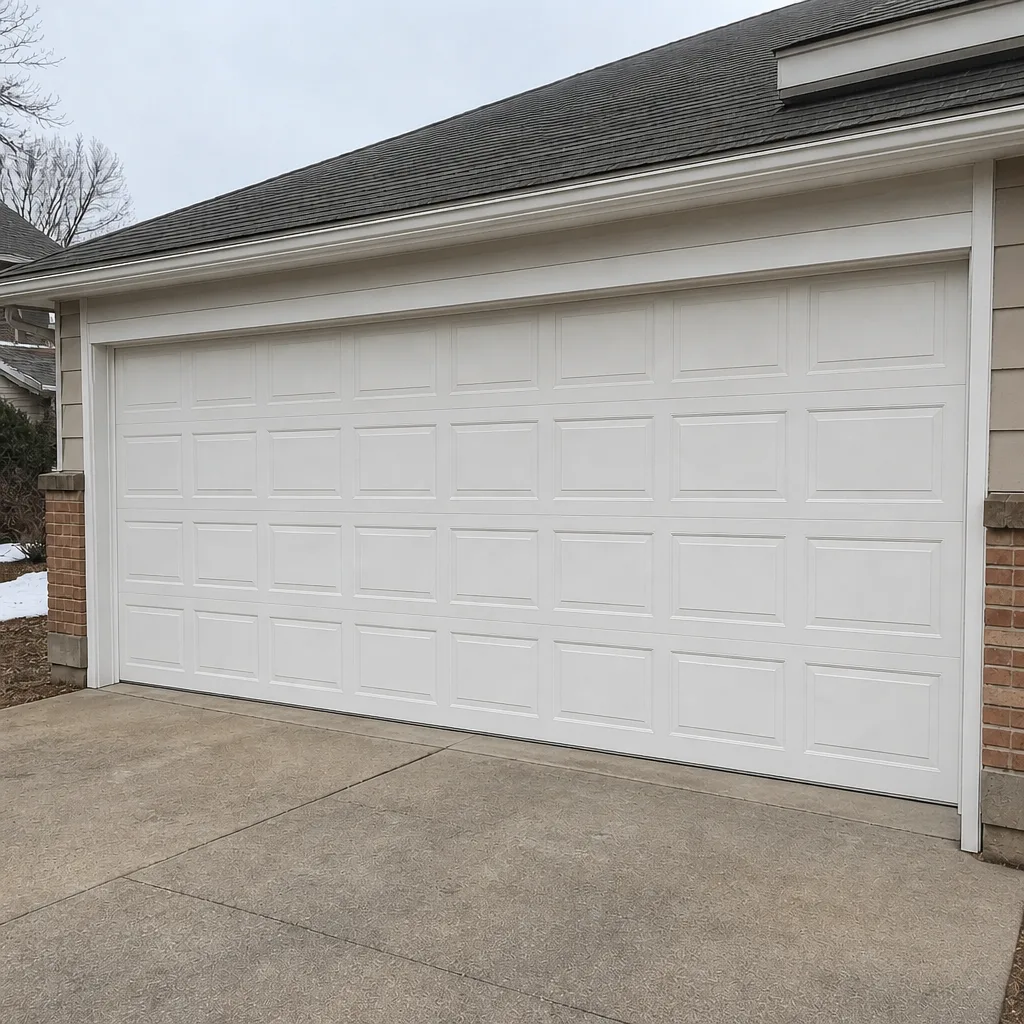 After
When to Call a Professional
Call a professional for anything involving springs, cables, drums, torsional shaft adjustments or opener force-limit settings. Those jobs carry real injury risk and need specialist tools and training. Call us too if your visual inspection turns up a broken spring, a frayed cable, a door that sits crooked, an opener that reverses intermittently, or a door that won’t stay up when released halfway. University Park Garage Door Repair Pros offers free estimates in University Park; call (844) 524-3396 and we’ll diagnose the specific system you have. Our technicians have up to 11 years of experience and work across the major brands you’re likely to have in your garage, including LiftMaster, Chamberlain, Genie, Clopay, Amarr, Wayne Dalton, Craftsman and Raynor. Every price is quoted and agreed before any work starts, so there are no surprises when the job is done. Our University Park Garage Door Repair Pros team is a single point of contact for the whole lifecycle of your door, from its first tune-up to a full replacement.
Frequently Asked Questions
Twice a year, in spring and fall, is the right rhythm for University Park. The two seasonal points bracket the periods when cold and humidity stress the door hardest, and they’re timed so you catch spring fatigue and seal damage before they become emergencies. A door used more than a few times a day can benefit from a full professional service annually on top of your own inspections.
No. Torsion and extension springs store enough energy to cause serious injury, and replacing them safely requires specialist tools and training. This is a job for a trained technician, and it’s the one item on the checklist we’d never advise a homeowner to attempt. Call (844) 524-3396 for a free estimate and we’ll handle it.
A door that gets louder, slows down on the way up, or reverses for no apparent reason is often showing early spring fatigue. A visible gap in the coil or a loud bang from the garage means it’s already broken. Either way, stop using the door and call for a professional look.
A professional tune-up is quoted by estimate after the technician sees the door, and the price you agree to before work starts is the price you pay. Spring replacement is quoted per spring, and a matched pair is usually replaced together at roughly twice the single-spring rate. Every estimate we give is free and written, so you know the number before you commit.
Yes, to a point. Cold thickens the lubricant and stiffens the door’s seals, and if your door has wood panels it may also be a little heavier in certain humidity conditions. What’s not normal is a door that strains audibly or reverses because it can’t overcome the load. That points to a spring, balance or opener force-limit problem, all of which a technician can measure and correct.
No. The seal is one of the few parts you can inspect and replace yourself, provided the door is otherwise in good working order. What you might need help with is sourcing the right seal profile for your brand; seals are specific to door manufacturers, and we supply parts across Clopay, Amarr, Wayne Dalton and others so the fit is right the first time.
The Bottom Line
A garage door maintenance checklist works when it’s ordered by failure risk, not alphabetical convenience. In University Park, that means torsion springs first, cable drum alignment second, weather seals third, opener force limits fourth, and rollers, hinges and hardware last. The first two are the ones that turn a routine repair into an emergency, and the seasonal rhythm of our climate means both need checking twice a year. Homeowners can do the visual inspections, the lubrication and the seal tests. Springs, cables, drums and force-limit adjustments need a technician with the right tools and training. If your inspection turns up anything on that second list, that’s the point to call. University Park Garage Door Repair Pros offers free estimates, and our technicians have up to 11 years of experience across the major brands. For a new door rather than a repair, our garage door installation service covers the full process from measurement to installation.
Get a Free Estimate From University Park Garage Door Repair Pros
If your checklist turns up a broken spring, a drifting cable drum, a seal that’s past its useful life, or an opener that’s straining, don’t put it off. University Park Garage Door Repair Pros works on the system you actually have, whether it’s a decades-old Craftsman or a newer smart-home LiftMaster, and we diagnose before we recommend. Parts are sourced across the major manufacturers, so most repairs happen on the first visit. Call (844) 524-3396 for a free estimate, and we’ll quote a price and agree it with you before any work starts.
Written by the team at University Park Garage Door Repair Pros.